
Every eBay seller would like to attract customers and increase sales. Successful eBay sellers know that better product photos could make you more money, because your buyers will feel more comfortable buying items from you. But taking great product photos isn’t always easy, read these quick tips to find out how to take great product photos for eBay.

1. Use a digital camera.
Using a digital camera with fully automated shooting modes will make taking product photos much easier. It allows you to instantly preview, upload, and edit your photos with your computer.
2. Keep the camera steady.
Use a tripod to avoid blurred images that occur when you handhold a camera.
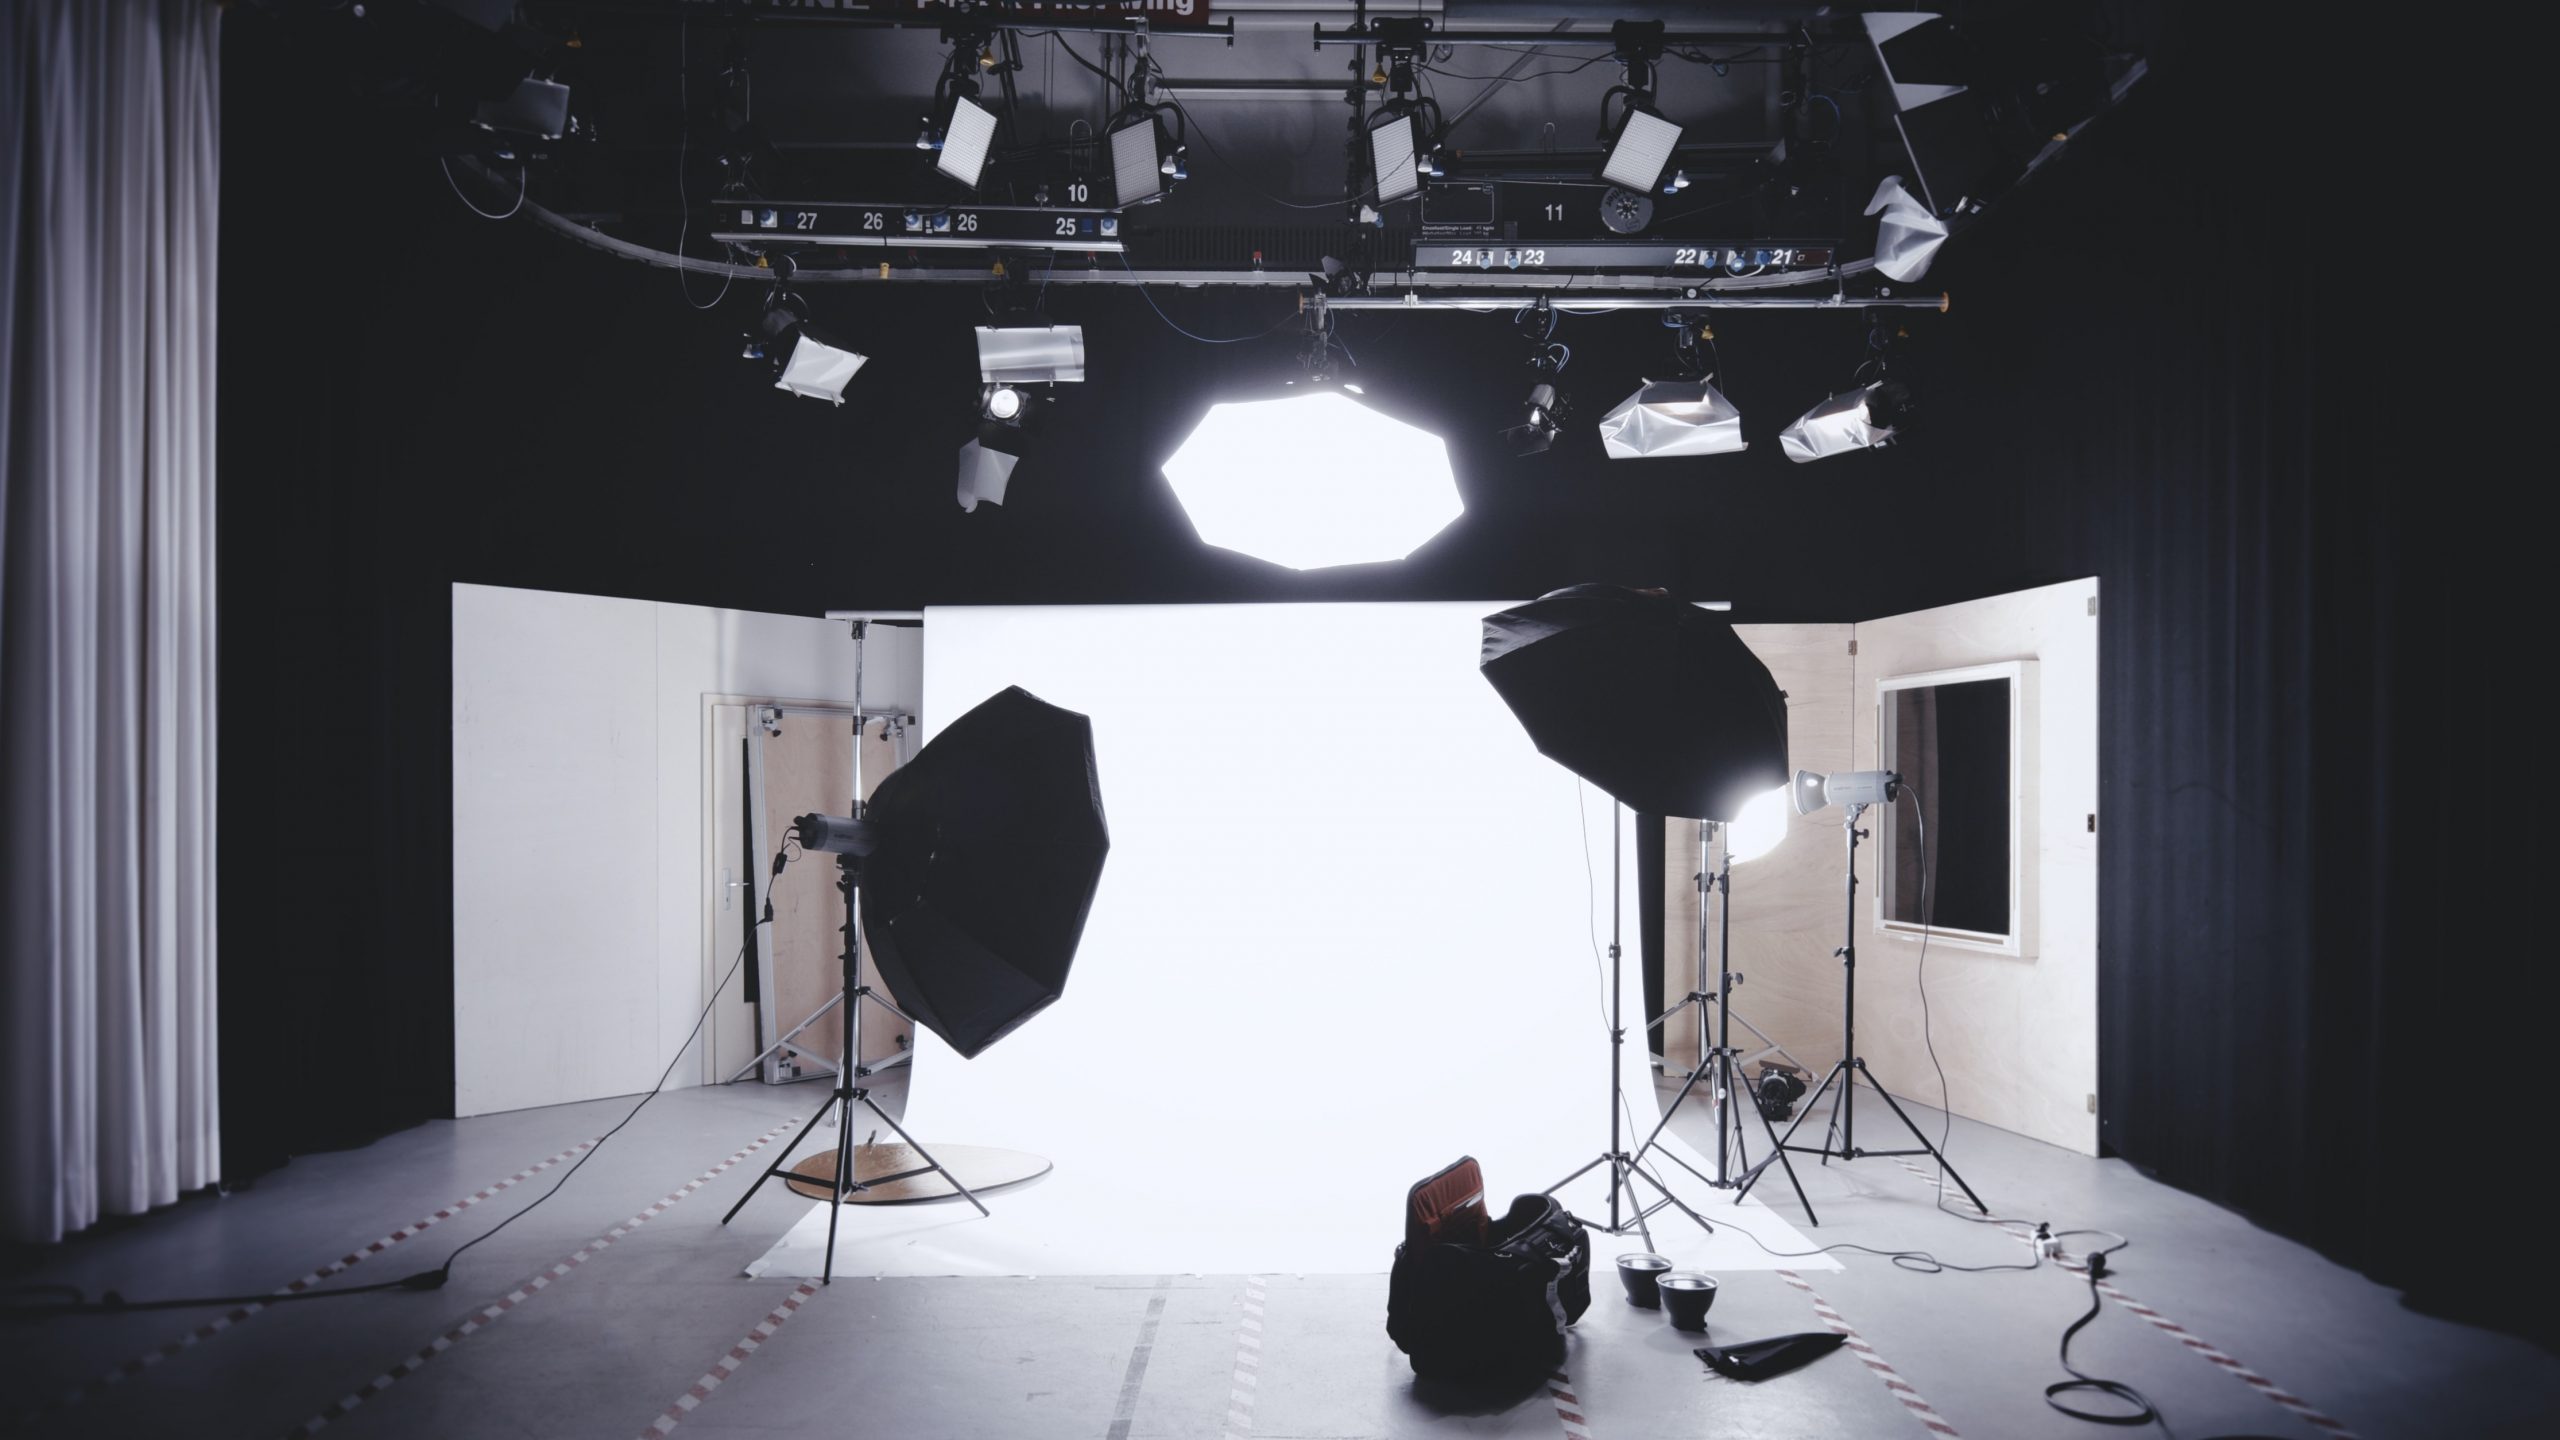
3. Use proper lighting.
Some people find natural outdoor lighting the best, but never use direct lighting such as a flash. Flashes wash out colors, and details, and create harsh shadows, especially when doing close-ups. Use soft, diffused lighting to avoid losing detail in your photo and create soft shadows. If you’re a serious eBay seller consider buying a photo tent or light box to diffuse the light for you. Alternatively, you can use lights and buy white plastic light covers, which will also create diffused light.
4. Use a backdrop.
Find a good backdrop for your product and avoid clutter which distracts the eye. Your product should be the only item you’re shooting. If you’re using something like a photo tent or light box it s easy, or alternatively, you could use a sheet or piece of fabric. Larger items can be more difficult but be sure to clean up the background so that there are no distracting objects.
5. Do not underexpose your photos.
Avoid underexposing your photos, especially if you’re shooting against a white background or outside in bright light. Your digital camera should have an over/under expose button that allows you to compensate and adjust the exposure. When taking pictures against a white background you might want to increase the exposure by +1 so that it lets more light into the camera and the background becomes pure white.
6. Show the product details.
Getting close and filling the frame with your subject will produce a better photo, and also help avoid clutter. Buyers like to see the details of what they are buying. The best way to take good close-up photos is to use your camera’s macro setting, which is designed to focus at short distances.
7. Your product should be sharp and in focus.
Take care to focus correctly. Autofocus on your digital camera may not always produce the best results as it can sometimes be fooled. In these cases use aperture priority mode, and set an aperture of 8 or higher to ensure that your entire photo is sharp. When you increase the aperture your camera compensates with a slower shutter speed, so remember to use a tripod.
8. Experiment with different angles
Take photos of different parts of your product and try different angles. Photographing your product from many angles helps add depth and avoid a flat online appearance. Pick one main overall shot of the item, but also use other detailed photos or different perspective shots. The more buyers can see, the more likely they will buy your product rather than your competitors.
9. Optimize your photos.
Once you’ve saved all your photos to your computer, you can optimize your pictures for online viewing. Make sure your images are saved as JPEG files and increase the compression so that your pages will download more quickly on a user s computer. Also crop your photos so that it is composed only of your product, eliminating white space and making your product look better.
10. Edit your photo.
Adjust the light and contrast to improve on your original photo. Make your subject stand out by adjusting the contrast between the foreground and background colors. You can also make certain parts of your picture lighter or darker to improve the overall look.
Once you’ve practiced photographing your products using these tips, visitors will have a better shopping experience and will be more likely to bid on your items.
Recommended Books on Selling on eBay:
- eBay 101: Selling on eBay For Part-time or Full-time Income
- eBay PowerSeller Secrets: Insider Tips from eBay’s Most Successful Sellers (2nd Edition) (v. 2)
- How to Buy, Sell, and Profit on eBay: Kick-Start Your Home-Based Business in Just Thirty Days
- Three Weeks to eBay Profits, Revised Edition: Go from Beginner to Successful Seller in Less than a Month (Three Weeks to Ebay Profits: Go from Beginner to Successful)
- How and Where to Locate the Merchandise to Sell on eBay: Insider Information You Need to Know from the Experts Who Do It Every Day