
Disclosure: This article may contain affiliate links. As an Amazon Associate, PowerHomeBiz may earn from qualifying purchases.
Better product photos can make your online store look more trustworthy, professional, and ready for sales. This checklist explains the affordable photography tools small business owners need first, what can wait, and how to build a simple product photography setup without overspending.
Key Takeaways
- Product photography helps customers understand what they are buying and whether they can trust your business.
- Start with lighting, stability, background, and a clean shooting surface before buying expensive cameras.
- A smartphone can work well for many small business product photos if the lighting and setup are good.
- Light boxes are useful for small items such as jewelry, candles, soaps, accessories, crafts, and packaged goods.
- Softbox lights, ring lights, reflectors, and diffusers help reduce harsh shadows and inconsistent color.
- Product videos need stable footage and clear audio, so a basic microphone may be useful once you start recording demos.
- Different products need different setups: clothing may need mannequins or hangers, food may need props, and handmade goods may need close-up detail shots.
- Always check the photo requirements of the platforms where you sell, including Amazon, Etsy, Google Merchant Center, and your ecommerce software.
Why Product Photography Matters for Small Businesses
Product photography is not just about making things look pretty. It affects trust, click-through rates, conversion, returns, and brand perception.
A blurry or dark product photo can make customers hesitate. They may wonder whether the product is poorly made, whether the seller is inexperienced, or whether the color and size will look different in real life. Clear photos reduce uncertainty.
Good product photos can help you:
- Show the true color, texture, and shape of your product
- Highlight important details customers may care about
- Show size and scale
- Demonstrate how the product is used
- Create a more professional brand image
- Improve social media content
- Make your product listings more consistent
- Reduce customer questions
- Support better product descriptions
- Build more trust with shoppers
This is especially important for product-based home businesses, handmade sellers, food entrepreneurs, clothing sellers, and online stores. If you are building a workspace for your business, PowerHomeBiz’s home office setup checklist for new entrepreneurs can help you plan your broader work area, storage, and equipment needs.
Table of Contents
Before You Buy Equipment: Know Where Your Photos Will Be Used
Before you start buying photography equipment, think about where your photos will appear. Different platforms and content types may require different image styles.
You may need photos for:
- Etsy listings
- Amazon product pages
- Shopify or WooCommerce product pages
- Google Shopping or Google Merchant Center
- Instagram posts and reels
- Pinterest pins
- Facebook Marketplace listings
- Email newsletters
- Blog posts
- Product catalogs
- Wholesale sheets
- Press kits
- Product videos
- Ads
For example, Amazon’s product image guide requires main product images to have a pure white background. Google Merchant Center has its own image size and quality requirements. Etsy encourages sellers to use clear product photos, consistent image shapes, good lighting, and multiple images that show the item from different angles or in use.
That means a small business owner may need more than one type of image:
- Main product image – clean, simple, usually on a white or neutral background
- Detail image – close-up of texture, stitching, ingredients, finish, label, or craftsmanship
- Scale image – product shown beside a hand, model, table, packaging, or common object
- Lifestyle image – product shown in use or in a realistic setting
- Packaging image – what the customer receives
- Variation image – colors, sizes, bundles, or options
- Video thumbnail – a strong still image for reels, demos, or product explainers
Once you know your content needs, you can buy smarter.
Who This Product Photography Checklist Is For
This checklist is especially useful for:
- Etsy sellers
- Handmade business owners
- Craft sellers
- Jewelry sellers
- Candle and soap makers
- Clothing and apparel brands
- Food product businesses
- Home bakery and cottage food sellers
- Skincare and beauty product sellers
- Amazon sellers
- Shopify store owners
- Dropshipping and private-label sellers
- Artists selling prints or physical products
- Resellers and vintage sellers
- Small manufacturers
- Home-based ecommerce sellers
If you sell crafts or handmade goods, start with PowerHomeBiz’s guide on how to start a profitable craft business. If you sell clothing, see how to start a clothing line business and how to start a successful small clothing business from home. If you are selling food products, review PowerHomeBiz’s state-by-state guide to starting a food business and easy guide to starting a home-based food business.
What to Buy First for Product Photography
If your budget is limited, start with the equipment that improves the biggest problems first: blurry images, poor lighting, messy backgrounds, and inconsistent framing.
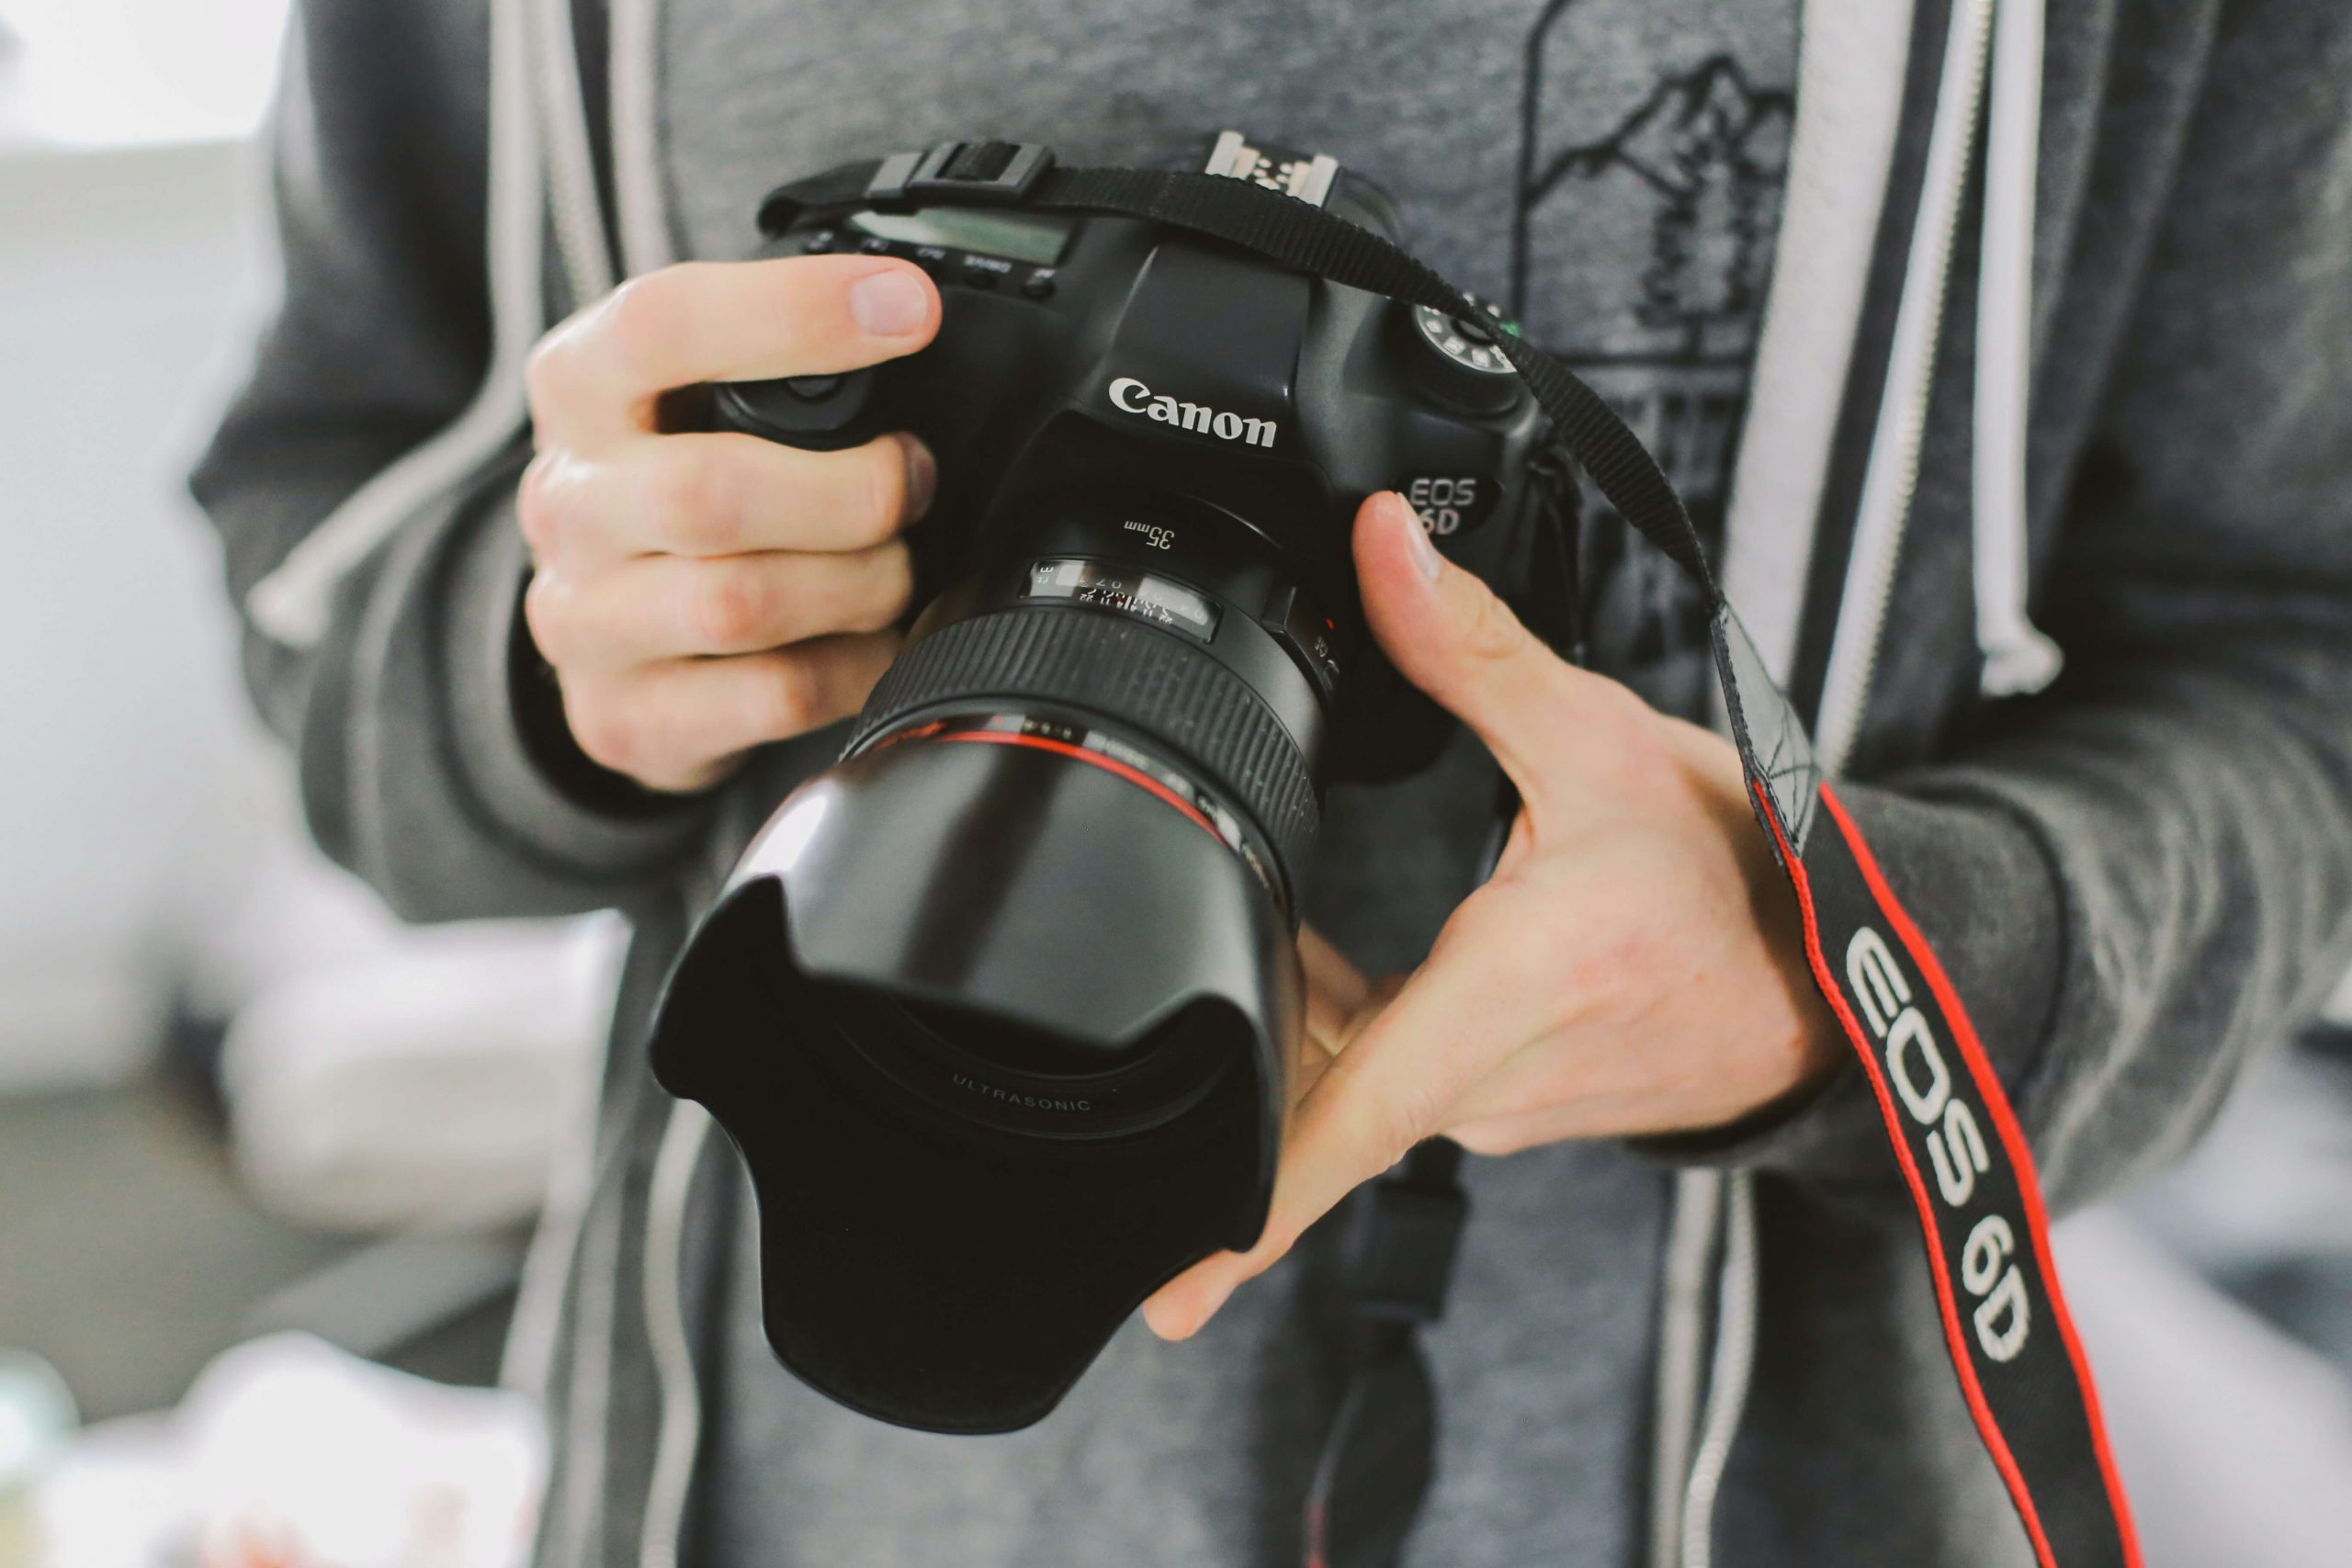
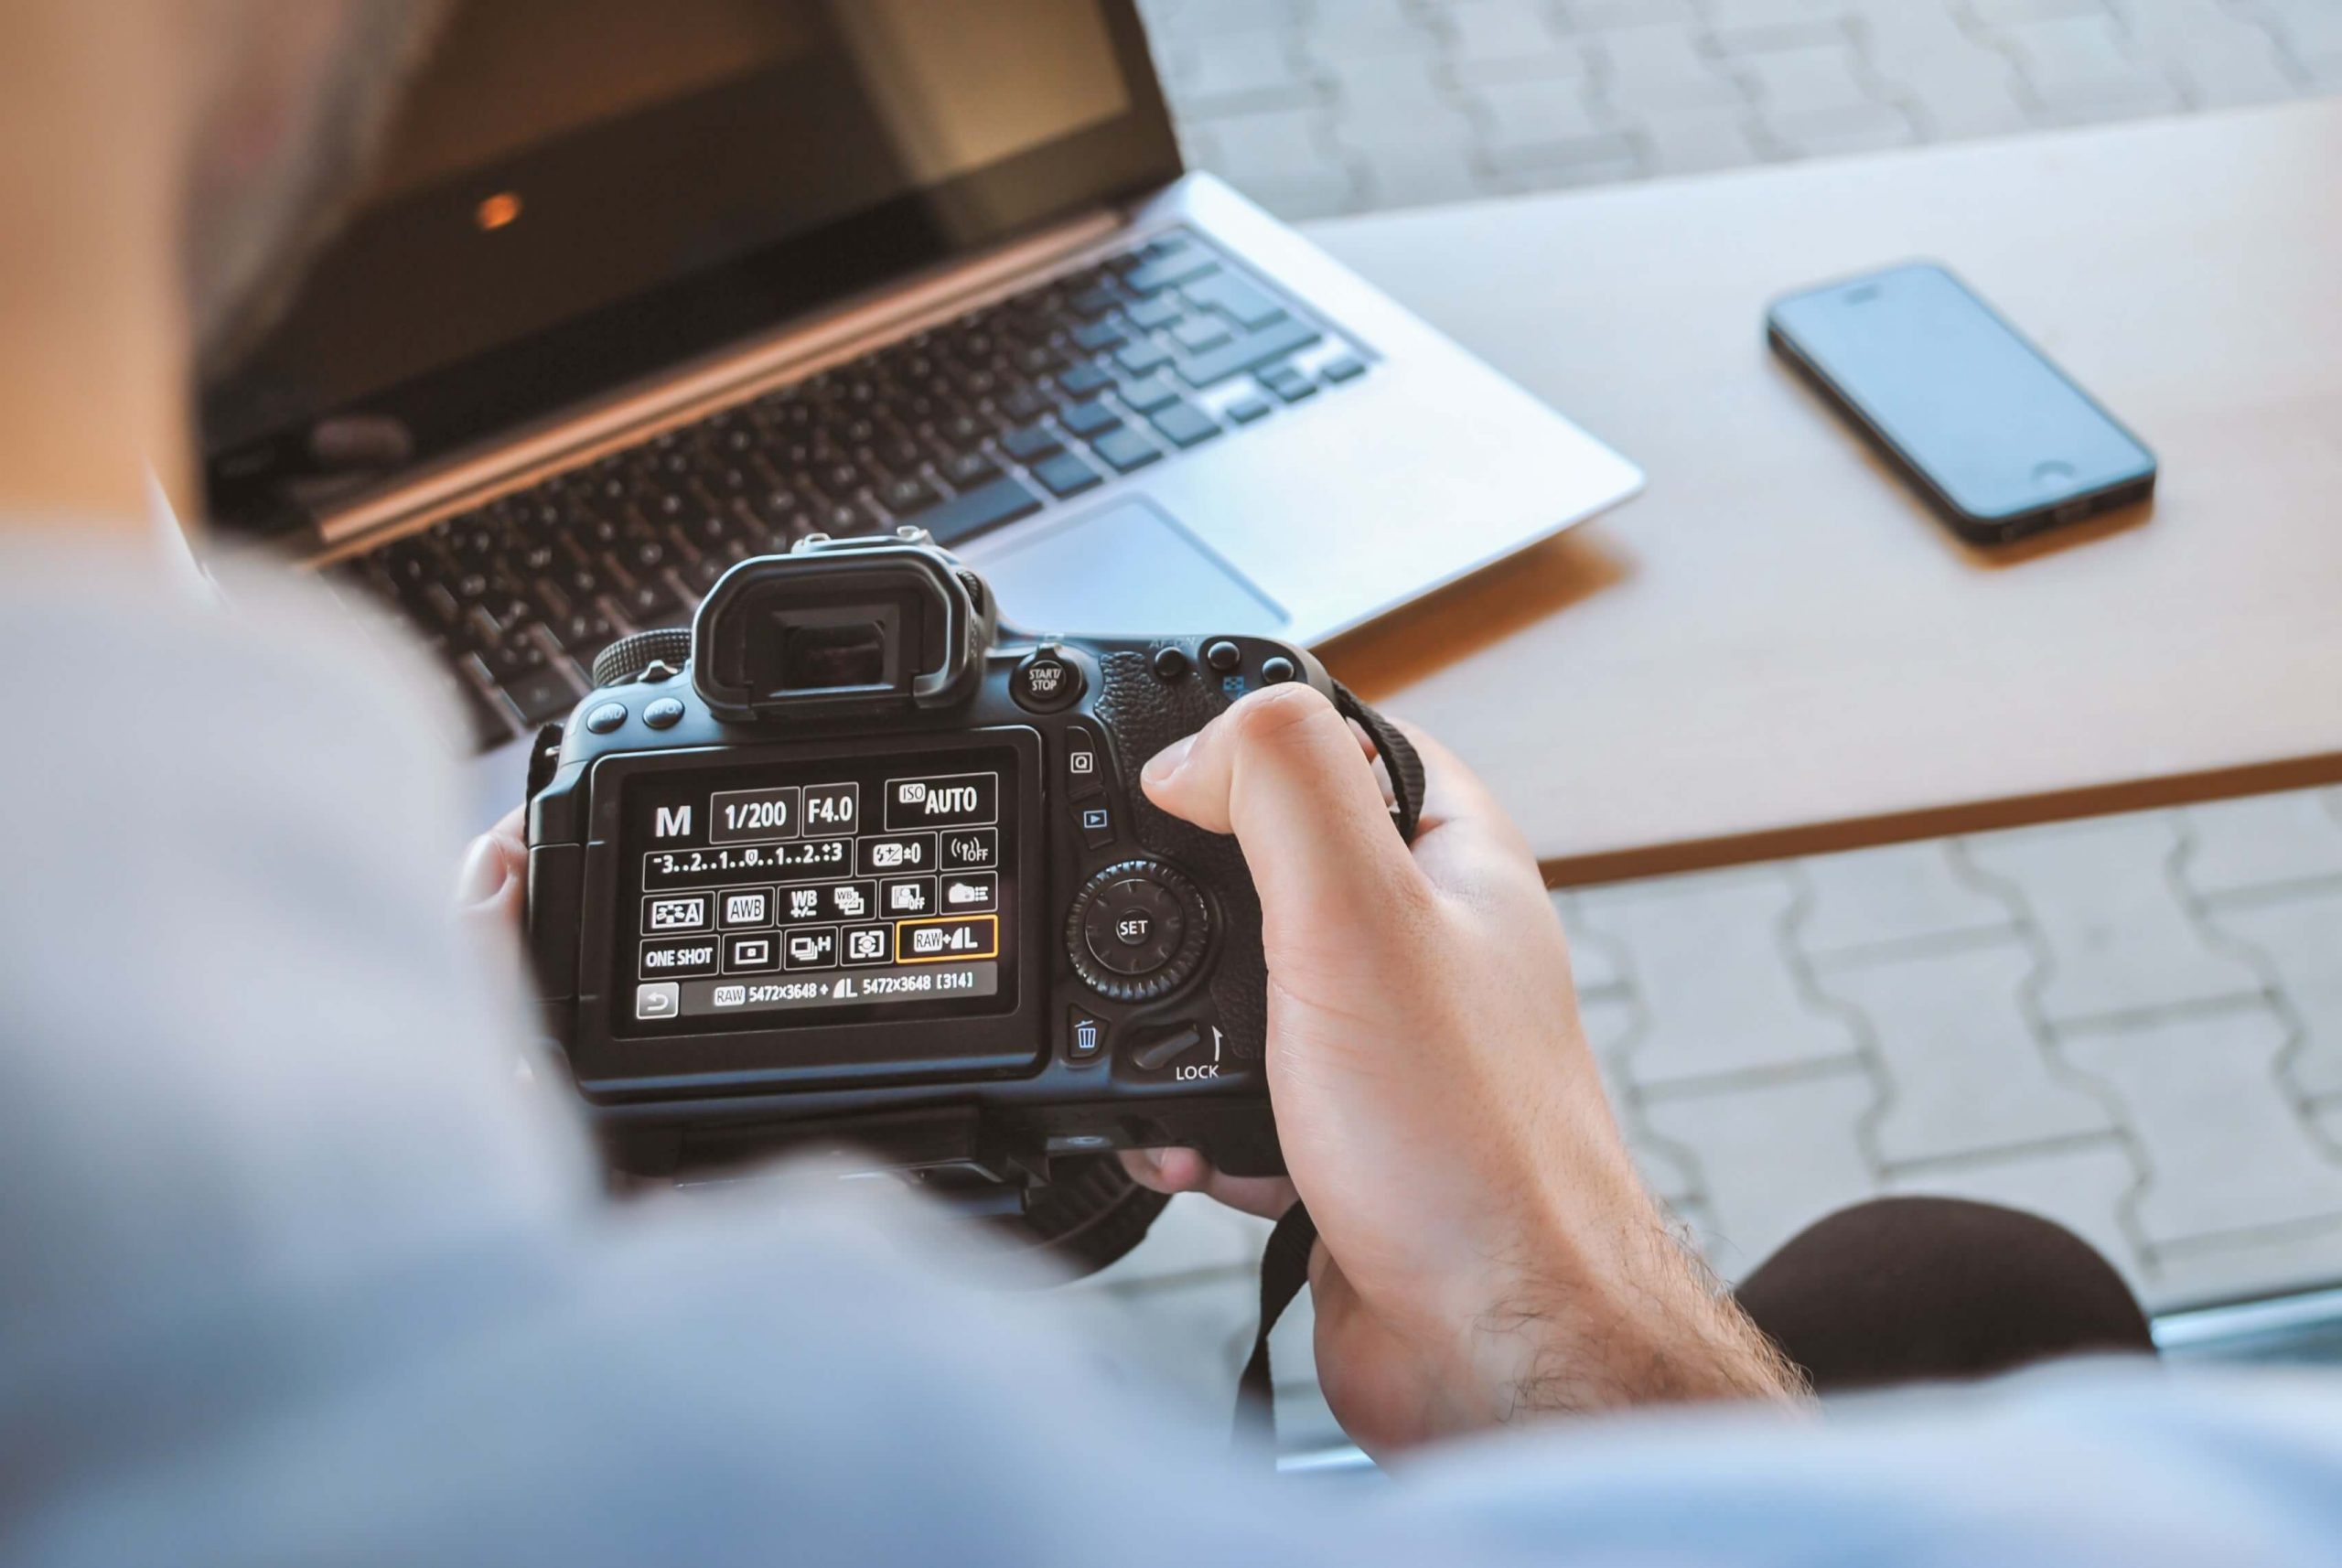
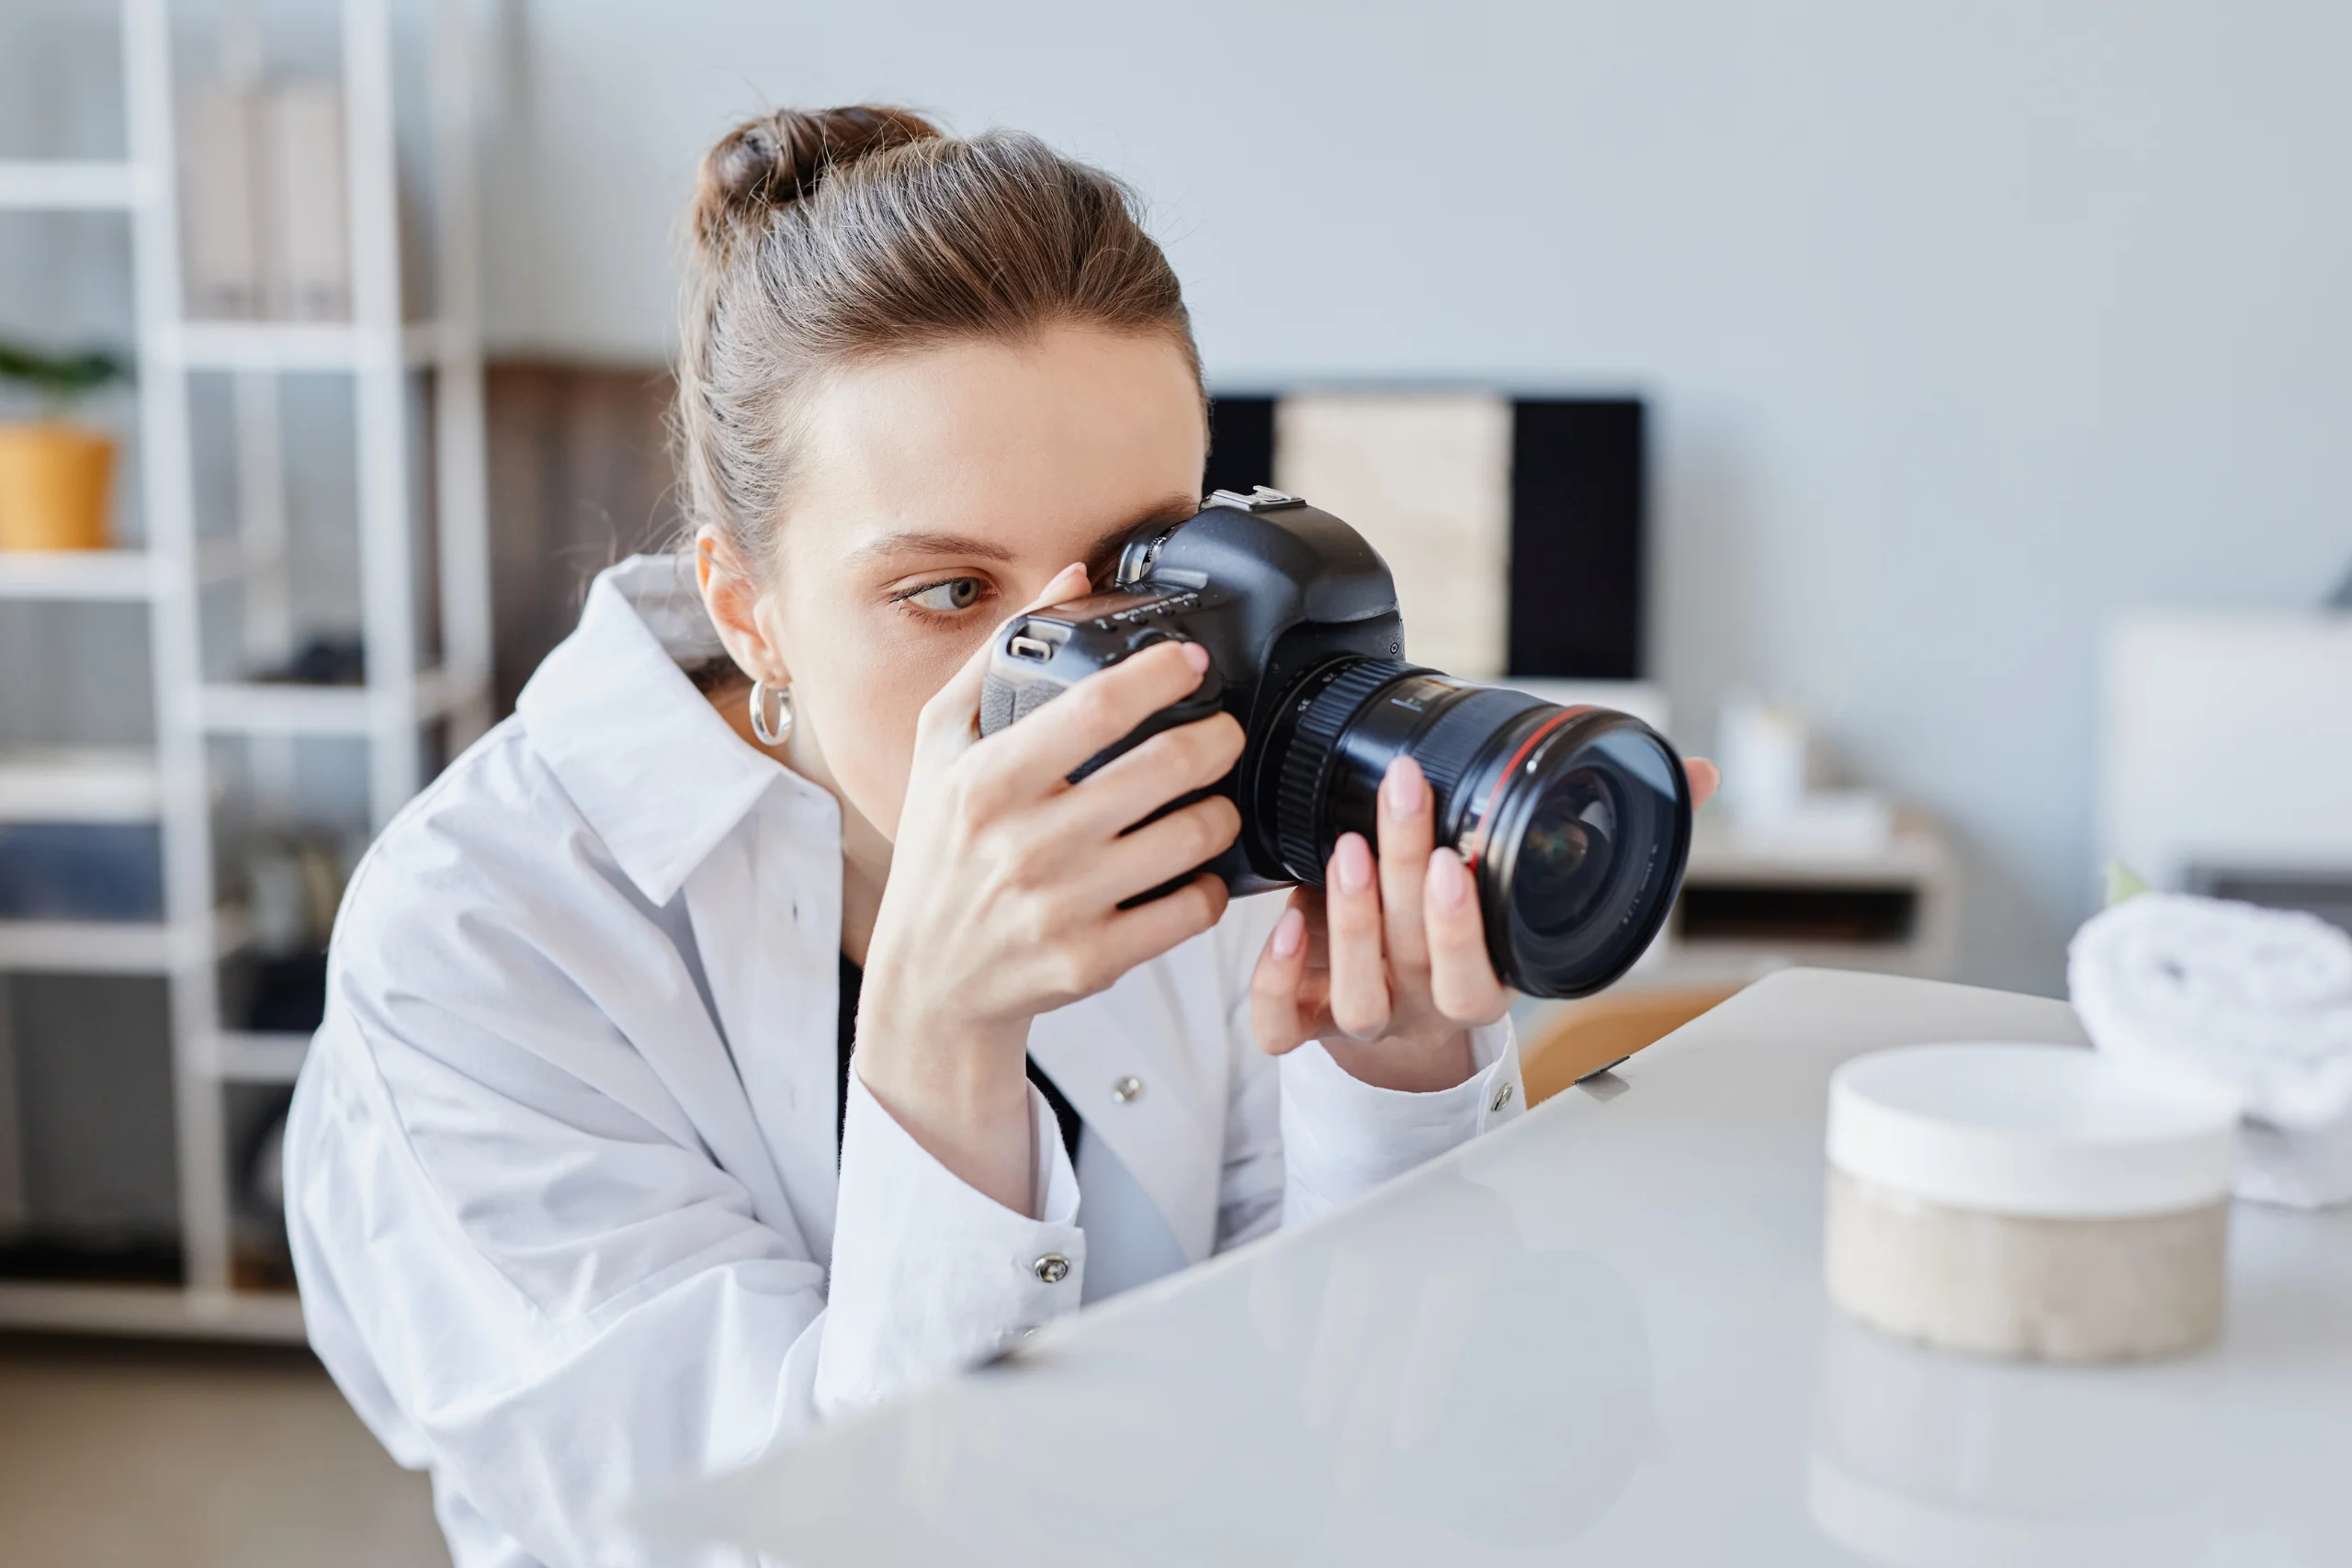
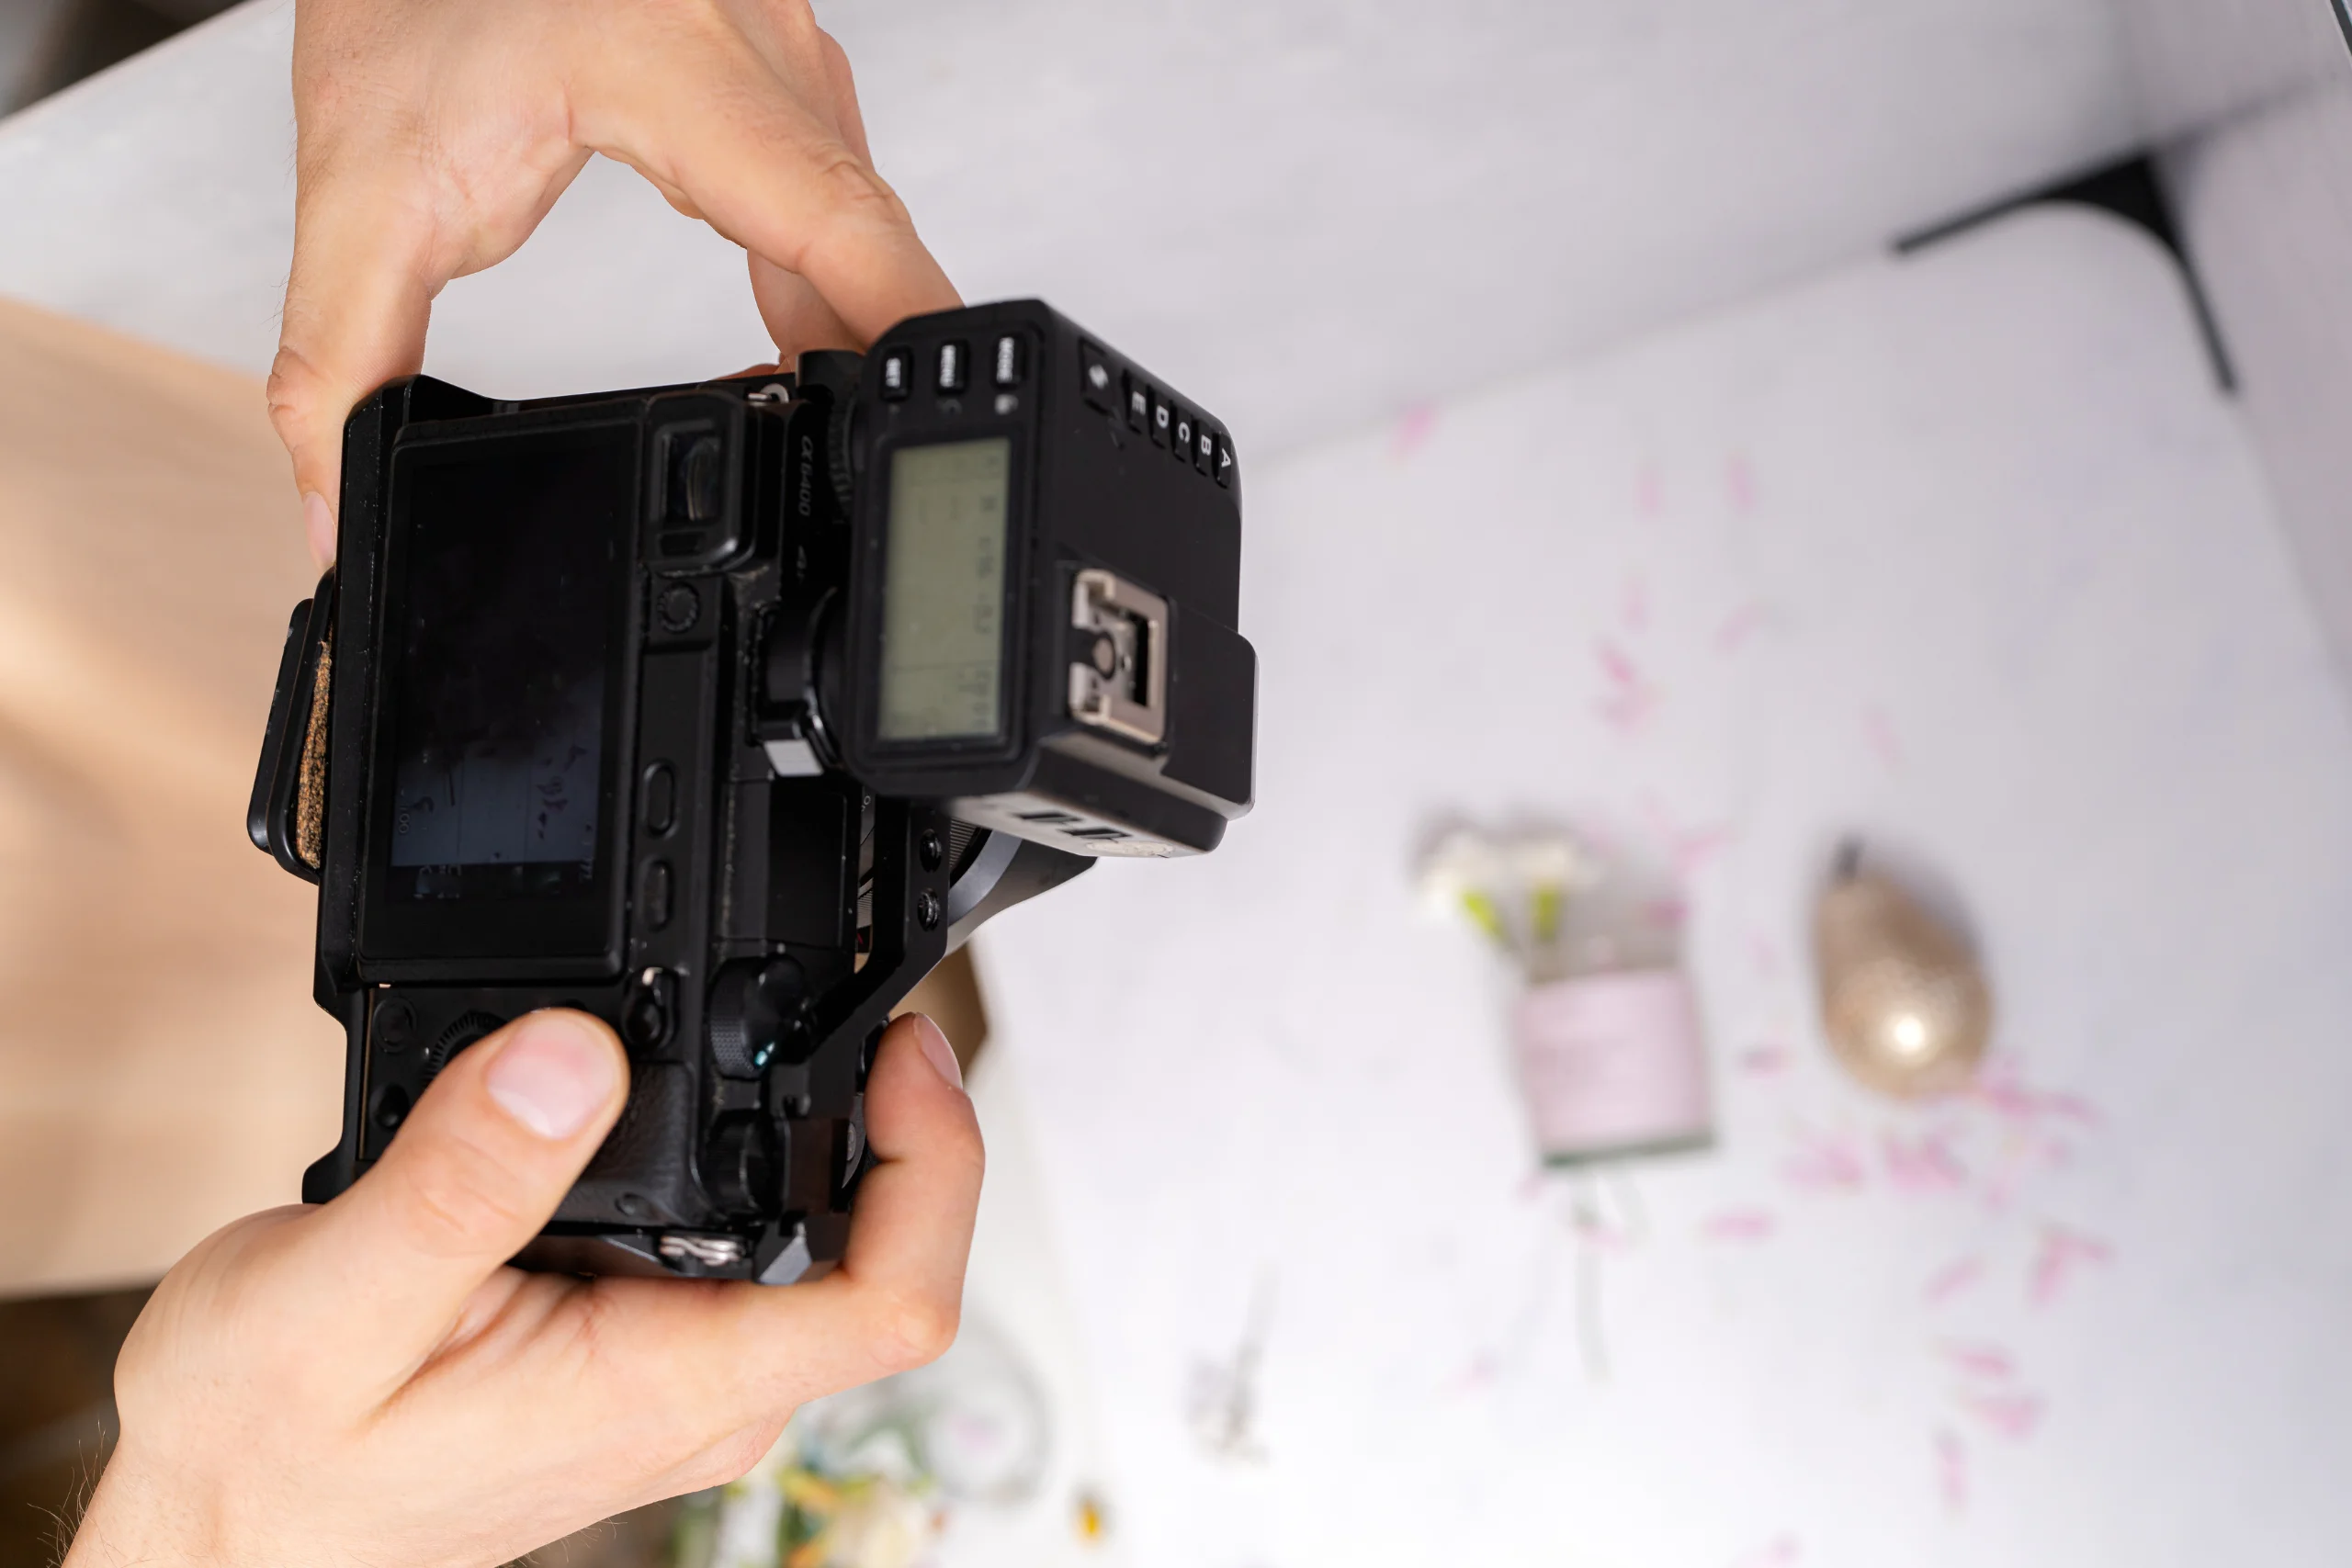
1. Smartphone or Camera
Many small business owners can begin with a modern smartphone. The camera you already own may be enough if you learn how to control lighting, focus, composition, and editing.
A smartphone is a good starting point if:
- You are testing your product idea
- You sell on Etsy, Instagram, Facebook, or your own small store
- You mostly photograph small or medium-sized products
- You do not need advanced lens control
- You want to keep startup costs low
A dedicated camera may be worth considering later if:
- You shoot large product catalogs
- You need very high-resolution images
- You sell premium products
- You need macro detail shots
- You shoot apparel, models, or lifestyle campaigns
- You want more control over lenses, aperture, and lighting
For most beginners, lighting and stability matter more than buying an expensive camera immediately. A good product photo taken with a phone in soft, controlled light will usually look better than a poorly lit photo taken with an expensive camera.
2. Tripod
A tripod is one of the best first purchases for product photography. It keeps your camera or phone steady, reduces blur, and helps you repeat the same angle across multiple products.
A tripod is useful for:
- Product listings
- Batch photography
- Overhead flat lays
- Clothing photos
- Food photos
- Jewelry close-ups
- Product videos
- Before-and-after shots
- Social media reels
Look for a tripod that is sturdy, adjustable, and compatible with your phone or camera. If you shoot overhead photos, choose one with an arm or add an overhead mount. If you work in a small space, a tabletop tripod may be enough.
3. Phone Mount
If you use a smartphone, you need a reliable phone mount. Many tripods include one, but cheaper mounts can loosen, tilt, or block the screen.
Choose a phone mount that:
- Fits your phone size
- Holds the phone securely
- Rotates between vertical and horizontal
- Works with your tripod
- Does not cover the camera lens
- Can handle a phone case
This is especially important if you create both product photos and vertical videos for Instagram Reels, TikTok, YouTube Shorts, Pinterest, or Etsy listing videos.
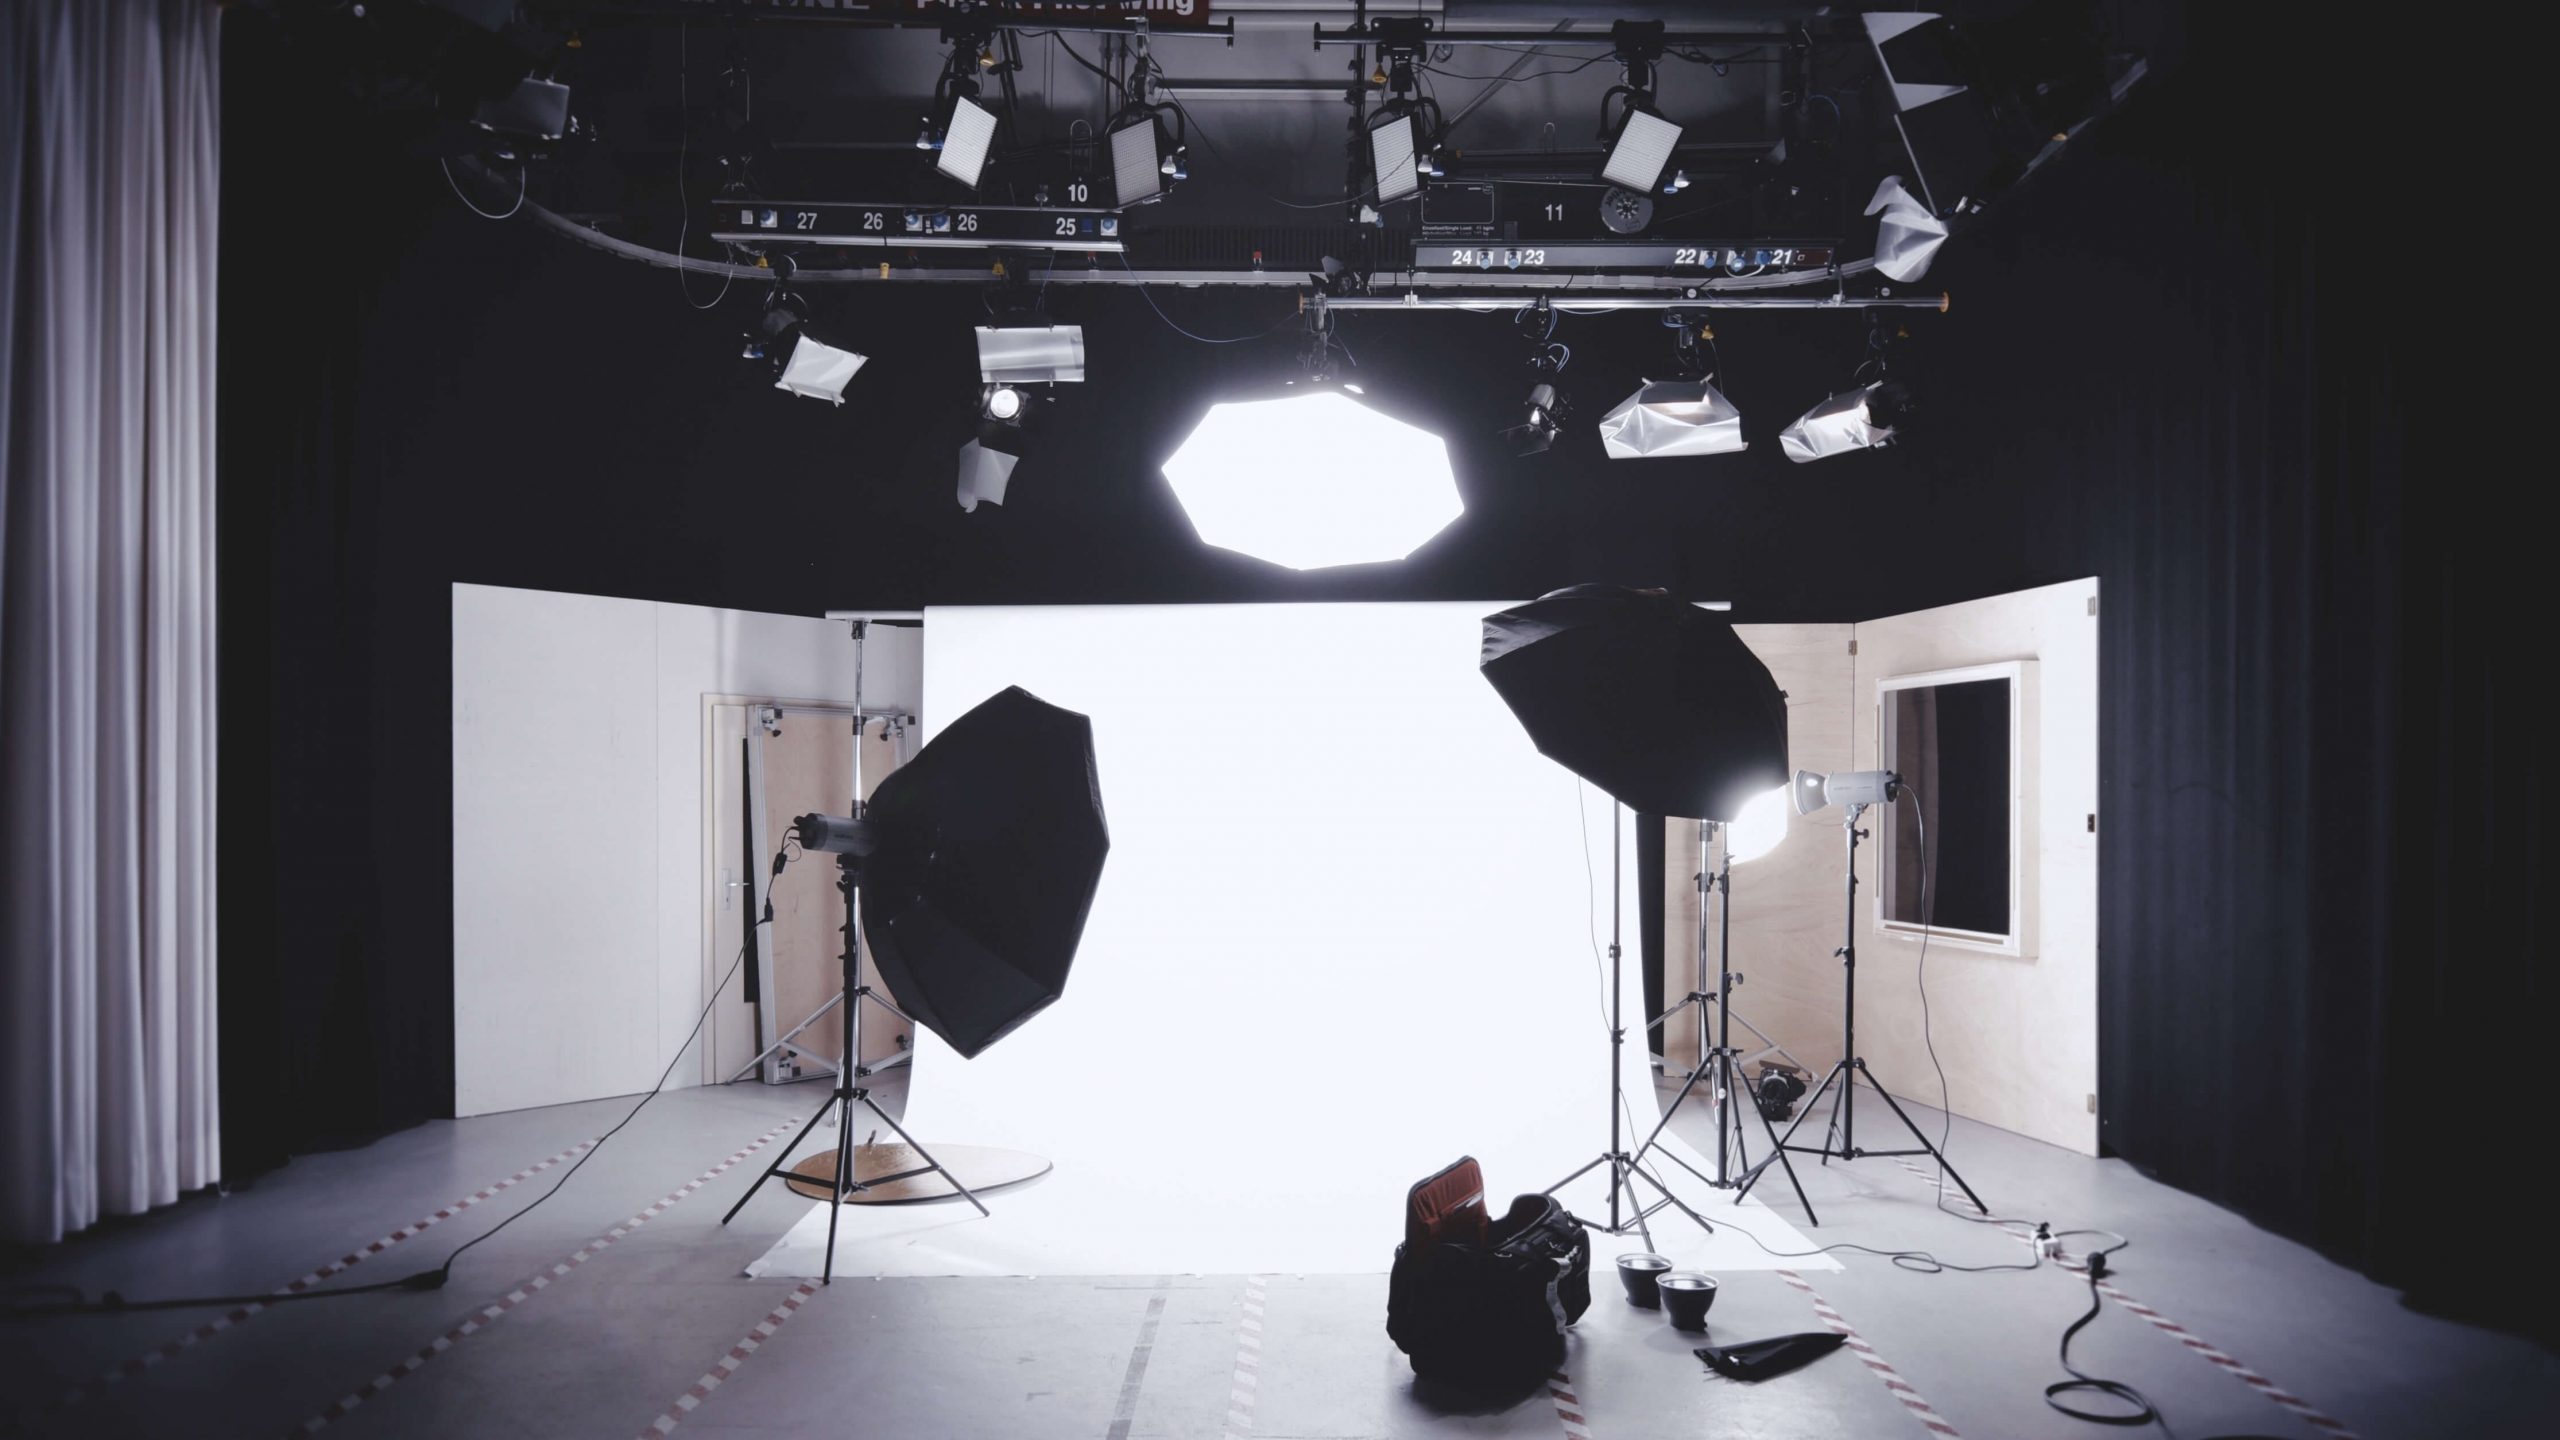
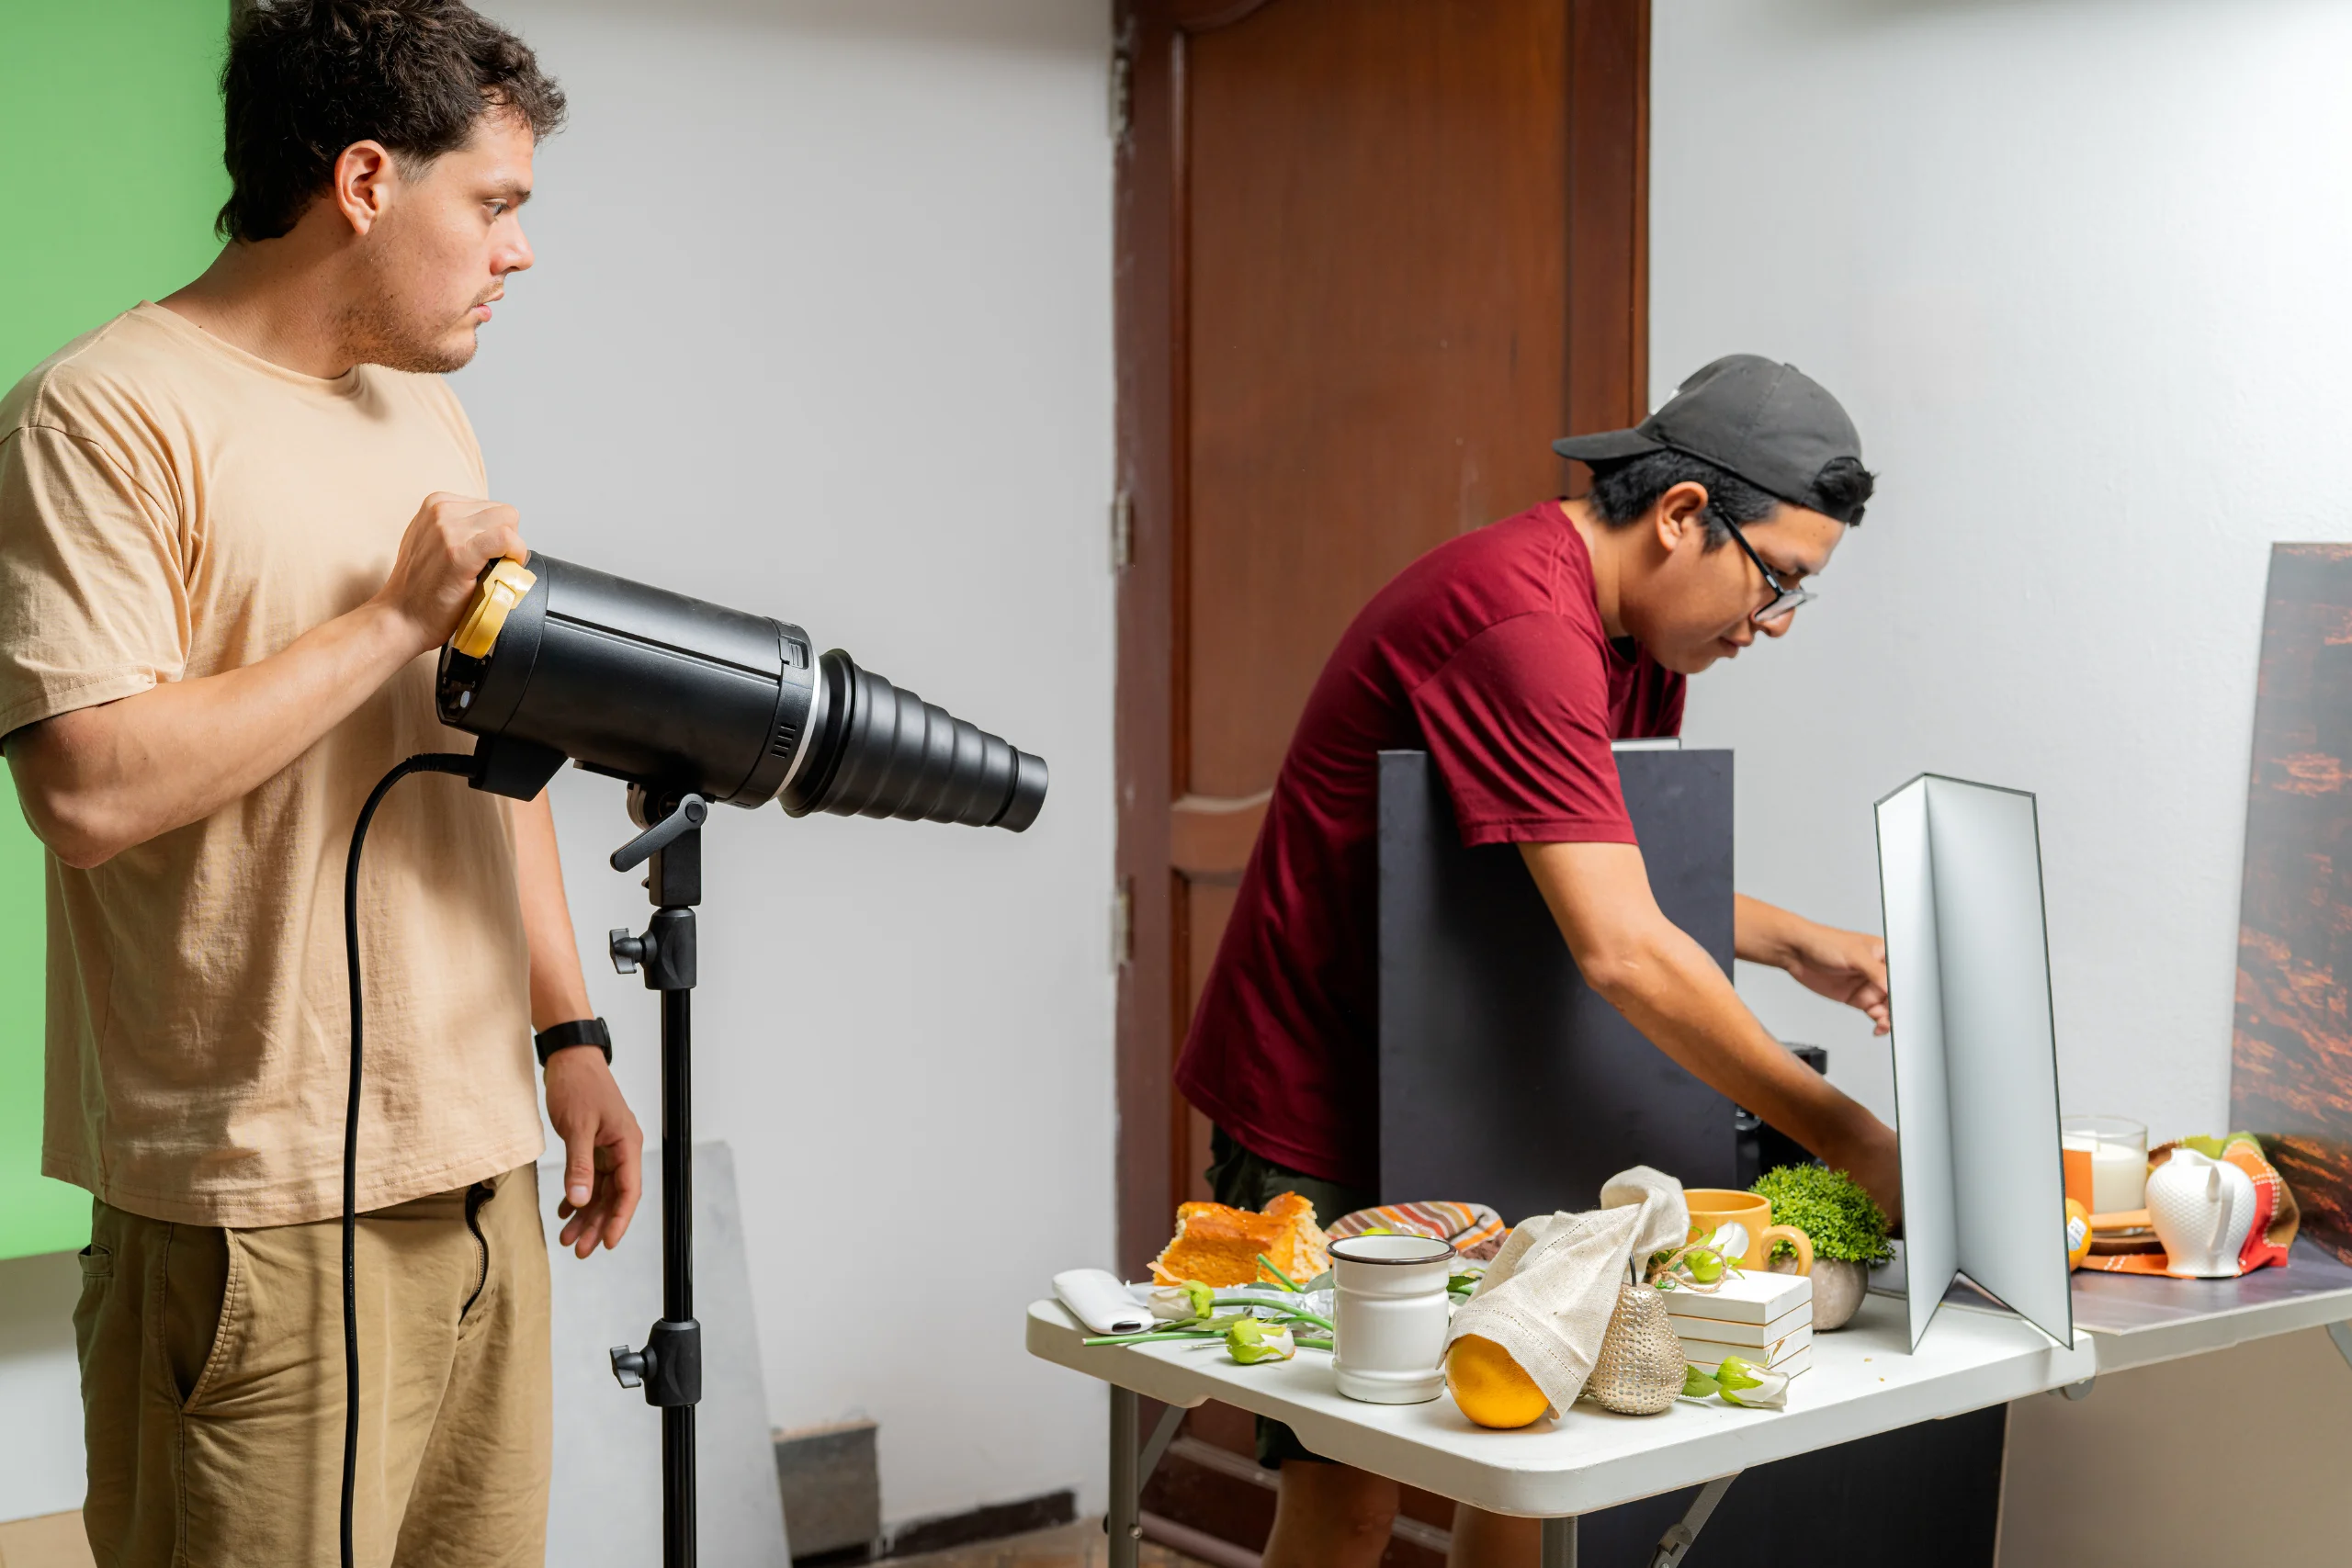
4. Lighting
Lighting is usually the biggest difference between amateur and professional-looking product photos.
You can start with natural light from a large window, but natural light changes throughout the day. Clouds, time of day, weather, and seasons can all affect your photos. If you want consistency, you will eventually need artificial lighting.
Beginner lighting options include:
- Ring lights
- Softbox lighting kits
- LED panel lights
- Desk lamps with daylight bulbs
- Light boxes with built-in LEDs
- Clip-on lights for small setups
For most product photography, soft and diffused light is better than harsh direct light. Harsh light creates strong shadows, glare, and uneven color. Soft light makes the product easier to see.
5. Light Box or Photo Tent
A light box, also called a photo tent, is a small enclosed photography setup that helps create even lighting around a product. It is especially useful for small items.
A light box works well for:
- Jewelry
- Candles
- Soaps
- Skincare products
- Small crafts
- Accessories
- Mugs
- Small packaged foods
- Toys
- Electronics accessories
- Handmade gifts
- Office products
Light boxes are popular because they are easy to use, portable, and affordable. Many include built-in LED lights and interchangeable backgrounds.
However, a light box is not ideal for every product. It may be too small for clothing, furniture, large gift baskets, wall art, or lifestyle scenes. For those, you may need softbox lights, backdrops, and a larger shooting area.
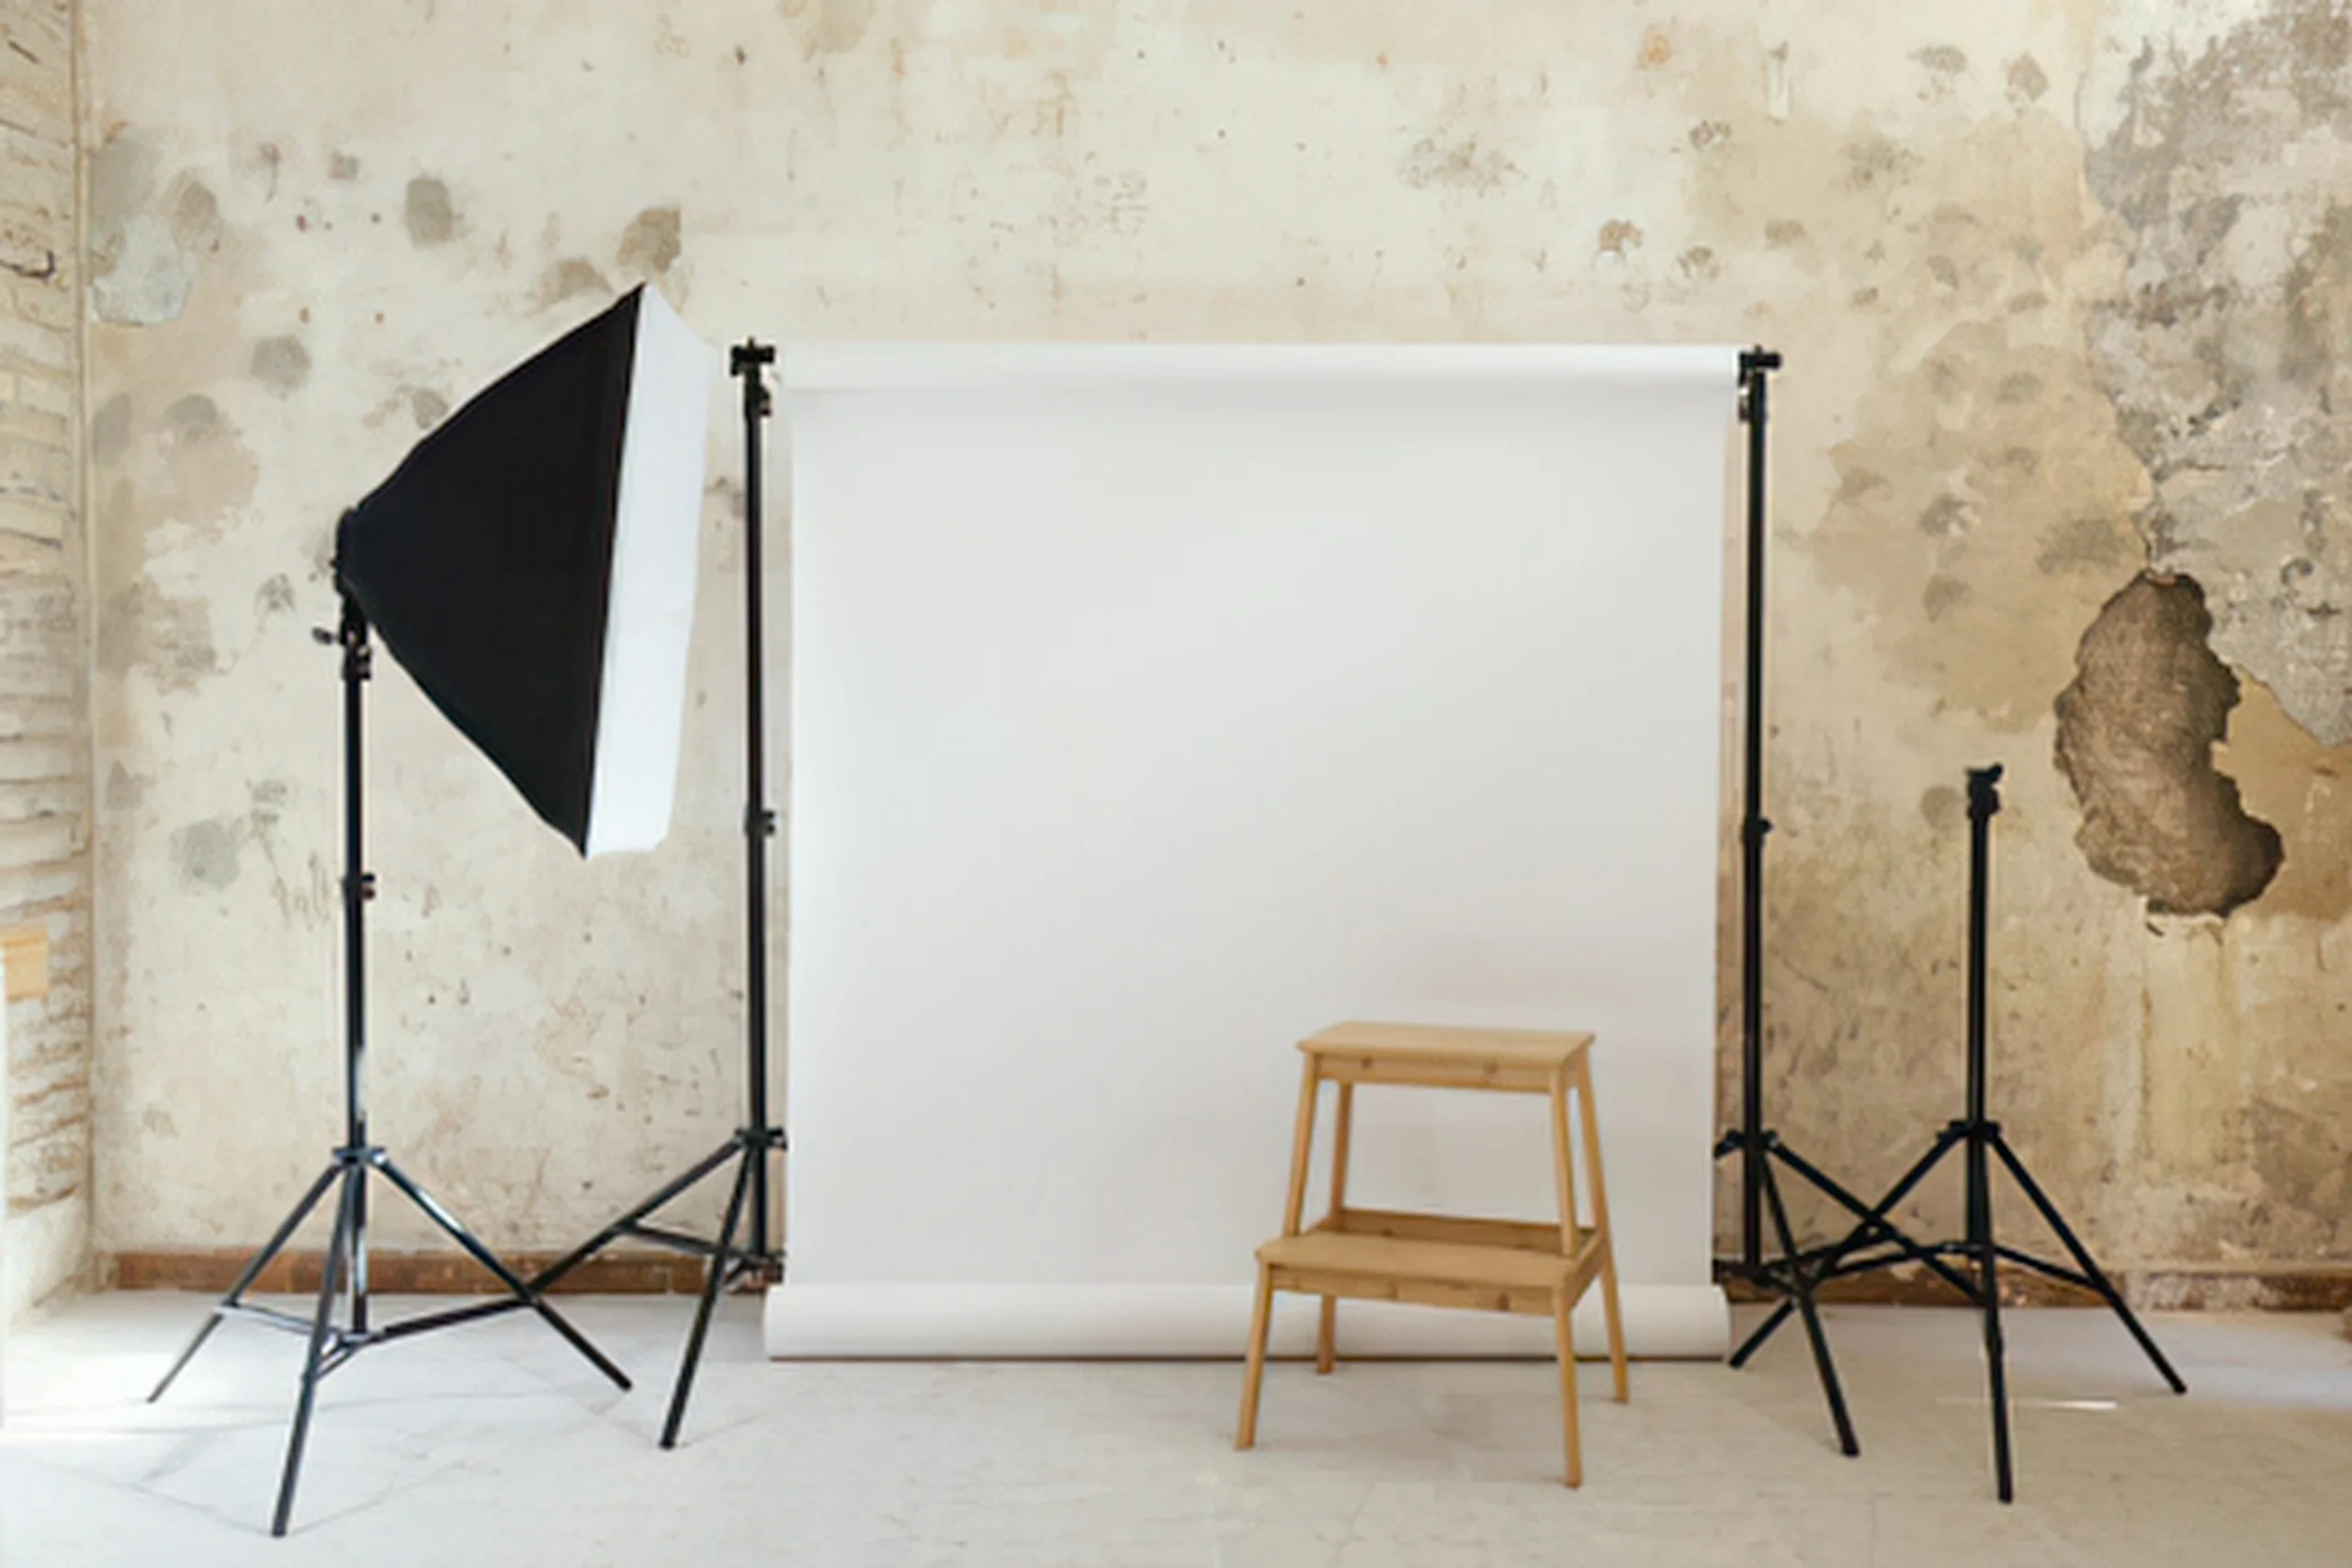
6. Backdrops
A clean background helps the product stand out. Your backdrop should not compete with the item.
Common product photography backdrops include:
- White poster board
- White vinyl backdrop
- Seamless paper
- Foam board
- Neutral fabric
- Wood-look boards
- Marble-look boards
- Colored paper
- Canvas backdrops
- Branded surfaces
A white background is useful for ecommerce and marketplace listings. Neutral backgrounds work well for most products. Lifestyle backgrounds can be useful for social media, brand storytelling, and showing the product in use.
If you sell on Amazon, pay close attention to the main image requirements. Amazon generally expects the main image to show the product clearly on a pure white background. Secondary images may allow more lifestyle and detail shots depending on the category.
7. Reflectors and Bounce Cards
Reflectors help control shadows. You do not always need to buy a professional reflector at first. A white foam board, white poster board, or folded piece of cardstock can work as a bounce card.
Reflectors are useful for:
- Brightening the shadow side of a product
- Reducing harsh contrast
- Making labels easier to read
- Improving food and beauty product shots
- Creating a cleaner look without adding another light
A basic 5-in-1 reflector is inexpensive and gives you white, silver, gold, black, and translucent surfaces. White reflectors are good for natural-looking fill light. Silver reflectors create a stronger reflection. Black surfaces can help reduce unwanted reflections or deepen shadows.
8. Portable Table or Shooting Surface
You need a clean, stable surface for product photography. A portable folding table can work well if you do not have a permanent studio space.
A good shooting table should be:
- Stable
- Large enough for your product
- Easy to clean
- Near a window or outlet
- At a comfortable height
- Easy to move if your space is limited
For very small products, a desk or tabletop may be enough. For food, crafts, packaging, and bundles, a larger folding table gives you more room to style the scene.
9. Product Display Stands
Product display stands help show shape, scale, height, and use. They are especially useful for jewelry, accessories, beauty products, food, crafts, and apparel.
Examples include:
- Acrylic risers
- Jewelry stands
- Necklace busts
- Ring holders
- Earring cards
- Small easels
- Plate stands
- Cake stands
- Mannequin forms
- Hangers
- Shoe stands
- Product blocks
- Display trays
Do not overdo the display props. The product should remain the hero of the photo. Use product display stands when they help customers understand the product better.
10. Photo Props
Props can make product photos more attractive, but they should be used carefully. The wrong props can confuse customers or make them think extra items are included.
Good props should:
- Support the product story
- Show scale
- Suggest use
- Match the brand style
- Avoid clutter
- Avoid misleading the buyer
For example, a candle seller might use matches, a ceramic tray, or folded linen. A food business might use ingredients, serving utensils, or packaging. A clothing seller might use shoes, bags, or accessories, as long as the listing makes clear what is actually for sale.
PowerHomeBiz’s article on successfully showcasing your products can give you additional ideas on presenting products clearly and professionally.
11. Memory Cards and Storage
If you use a digital camera, buy reliable memory cards. If you use a smartphone, make sure you have enough phone storage or cloud backup.
Product photos can pile up quickly. A small business owner may shoot dozens of images for one product and hundreds for a full product line. Poor file organization can waste hours later.
Create a simple folder system such as:
- Product Photos
- Raw Photos
- Edited Photos
- Website Images
- Etsy Images
- Amazon Images
- Social Media Images
- Video Clips
Use file names that describe the product, color, angle, and use. For example: blue-ceramic-mug-front.jpg is better than IMG_4829.jpg.
Google Search Central recommends useful, descriptive alt text and warns against keyword stuffing. That same principle applies to filenames: be descriptive, accurate, and helpful.
12. Basic Microphone for Product Videos
If you plan to create product videos, tutorials, demonstrations, unboxing clips, or social media reels, a microphone can improve your content.
A basic microphone is useful for:
- Product demonstrations
- How-to videos
- Behind-the-scenes videos
- Founder videos
- Packaging videos
- Styling tips
- Food preparation videos
- Clothing try-on clips
- Voiceovers
You may not need a microphone for silent product videos or simple rotating shots. But if you speak in your videos, audio quality matters. Customers may tolerate a simple video, but poor audio can make the content hard to watch.
Good beginner microphone options include:
- Lavalier microphone
- Wireless clip-on microphone
- USB microphone for voiceovers
- Shotgun microphone for camera setups
If you feature customer testimonials, influencer clips, affiliate videos, or sponsored content, review the FTC’s endorsement and advertising guidance so that claims and relationships are disclosed properly.

Product Photography Equipment Checklist
| Equipment | Best For | Buy First or Later? |
|---|---|---|
| Smartphone or camera | Capturing product photos and videos | Buy first if you do not already have one |
| Tripod | Stability, sharpness, consistent angles | Buy first |
| Phone mount | Smartphone photography and video | Buy first |
| Ring light | Small products, face-to-camera product videos, quick content | Buy first or early |
| Softbox lights | Larger products, apparel, consistent studio lighting | Buy early if you shoot often |
| Light box | Jewelry, crafts, candles, small products, packaged goods | Buy early for small items |
| White backdrop | Ecommerce listings, marketplace photos | Buy first |
| Neutral or branded backdrops | Lifestyle photos and social media content | Buy later |
| Reflector or foam board | Reducing shadows and improving light | Buy first |
| Portable table | Dedicated shooting surface | Buy early |
| Product display stands | Jewelry, accessories, beauty products, food, crafts | Buy as needed |
| Props | Lifestyle photos and brand storytelling | Buy slowly |
| Memory cards | Camera storage | Buy if using a camera |
| External hard drive or cloud storage | Photo backup and organization | Buy early if shooting often |
| Basic microphone | Product videos, demos, tutorials, voiceovers | Buy later unless video is central |
| Editing software or app | Cropping, brightness, color correction | Buy or use free tools early |
Best Equipment by Product Type
Handmade Crafts
Handmade products need photos that show detail and craftsmanship. Use a tripod, soft light, neutral background, reflector, and close-up shots.
Recommended equipment:
- Smartphone or camera
- Tripod
- Light box for small crafts
- Foam board reflector
- Neutral backdrop
- Detail props
- Storage bins for organizing photo samples
For more guidance on starting this kind of business, read How to Start a Profitable Craft Business.
Jewelry and Accessories
Jewelry is difficult to photograph because it reflects light and shows tiny details. A light box, macro setting, tripod, and reflectors can help.
Recommended equipment:
- Light box
- Tripod
- Phone mount or macro lens
- Jewelry stands
- Ring holders
- Earring cards
- White and black reflectors
- Soft cloth for cleaning fingerprints
Shoot close-ups, scale photos, clasp details, packaging, and lifestyle images. If the jewelry has variations, show each color or finish clearly.
Clothing and Apparel
Clothing photography needs more space than small-product photography. You may need models, mannequins, hangers, or flat-lay surfaces.
Recommended equipment:
- Tripod
- Softbox lights
- Full-length backdrop
- Garment steamer
- Mannequin or dress form
- Hangers
- Lint roller
- Measuring tape
- Full-length mirror if creating try-on content
Show front, back, fabric texture, fit, size reference, stitching, closure, and styling ideas. If you are building an apparel business, also read PowerHomeBiz’s guides on starting a clothing line business, manufacturing and selling your clothing line, and promoting a new clothing line.
Food Products
Food photography should make the product look appetizing while staying truthful. This is especially important for packaged foods, baked goods, frozen foods, sauces, jams, canned goods, and meal kits.
Recommended equipment:
- Soft natural light or softbox lighting
- Tripod
- Reflector
- Portable table
- Neutral plates or boards
- Food-safe props
- Packaging shots
- Overhead mount for flat lays
- Basic microphone for recipe or demo videos
Show the product in packaging, out of packaging, served, close-up, and with scale. If you sell food from home, review PowerHomeBiz’s home-based food business guide, state-by-state food business guide, and frozen food business guide.
Beauty, Skincare, and Personal Care Products
Beauty products need clean, polished images that show packaging, texture, color, and use.
Recommended equipment:
- Light box or softbox lights
- Reflectors
- Acrylic risers
- White backdrop
- Lifestyle props
- Macro capability
- Product turntable for videos
- Microfiber cloth for cleaning bottles and jars
Avoid making unsupported claims in photos, overlays, or videos. If you say a product produces a specific result, be sure your marketing claims comply with applicable advertising rules.
Etsy and Handmade Shop Products
Etsy sellers often need multiple types of images: main photo, lifestyle photo, scale photo, packaging photo, detail photo, and variation photo. Etsy’s own product photography resources emphasize preparation, background, lighting, steady shots, framing, and testing your setup.
Recommended equipment:
- Smartphone or camera
- Tripod
- Light box or softbox lights
- Consistent backgrounds
- Props that fit your brand
- Reflector
- Packaging materials
- Video setup for short listing videos
For Etsy listings, try to create a cohesive visual style across your shop. Consistent photo shape, lighting, and background can make your storefront look more trustworthy.
Amazon Products
Amazon sellers need to follow marketplace image rules closely. The main image typically needs to be a clear product image on a pure white background. Additional images can often show lifestyle use, scale, details, and benefits.
Recommended equipment:
- White backdrop or light box
- Strong lighting
- Tripod
- Reflector
- Editing software
- Detail-shot setup
- Product stands
- Packaging photo setup
Before uploading, review Amazon’s product image guide for the category you are selling in. Marketplace photo rules can affect whether your listing is approved, suppressed, or competitive.
Budget Product Photography Setup
If you are just starting, do not spend hundreds of dollars before you know what you sell, where you sell, and how often you will shoot.
A basic budget setup can include:
- Smartphone you already own
- Tripod with phone mount
- White poster board or vinyl backdrop
- Foam board reflector
- Window light or inexpensive LED light
- Small folding table
- Simple editing app
- Storage folder system
This setup can work for handmade products, small packaged goods, crafts, books, art prints, accessories, and many Etsy products.
Better Product Photography Setup
Once your business starts making sales, you can upgrade to a more repeatable setup.
A stronger setup may include:
- Two softbox lights or LED panels
- Larger backdrop stand
- Light box for small items
- Full-size tripod
- Overhead arm
- Reflector kit
- Portable product table
- Display stands
- External storage
- Basic microphone
- Editing software
This setup is better for sellers who photograph inventory often, add new products monthly, or create product videos.
Professional Product Photography Setup
A more advanced setup may include:
- Dedicated camera
- Macro lens
- Prime lens
- Multiple lights
- Light modifiers
- Product turntable
- Tethering software
- Color calibration card
- Backdrop system
- Mannequin or models
- Professional editing software
- Dedicated shooting space
This setup may be worth it for premium brands, high-volume ecommerce businesses, fashion businesses, beauty brands, and sellers with large catalogs.
What Can Wait
Not every tool is necessary on day one. The following items can usually wait:
- Expensive camera
- Multiple lenses
- Professional studio strobes
- Product turntable
- Advanced editing software
- Branded custom backdrops
- Large backdrop systems
- Professional mannequin
- Paid photo presets
- Premium props
- Full video studio setup
Buy these only when they solve a real problem in your business. For example, if your photos are blurry, buy a tripod before a new camera. If your photos are dark, fix your lighting before buying props. If your photos look inconsistent, improve your backdrop and shooting process before upgrading lenses.
Product Photography Mistakes to Avoid
1. Buying Too Much Equipment Too Soon
Many beginners buy equipment before they understand their needs. Start with the basics: light, stability, background, and organization. Upgrade only when your current setup limits your results.
2. Using Harsh Light
Direct sunlight, bare bulbs, and camera flash can create harsh shadows and glare. Use diffused light whenever possible.
3. Ignoring the Background
A cluttered background distracts from the product. Use clean, simple backgrounds for main product images and intentional backgrounds for lifestyle images.
4. Not Showing Scale
Customers need to understand size. Include a scale photo when size could be unclear. This is especially important for jewelry, bags, candles, art prints, food packages, home décor, and handmade goods.
5. Overusing Props
Props should support the product, not overwhelm it. Too many props can confuse buyers and make the listing look cluttered.
6. Editing Too Much
Editing should improve clarity, brightness, and color accuracy. Do not edit so heavily that the product looks different from what the customer will receive.
7. Forgetting Platform Requirements
Amazon, Etsy, Google Merchant Center, and ecommerce platforms may have different image requirements. Check the rules before shooting hundreds of photos.
8. Using Misleading Photos
Do not show items that are not included unless the listing clearly explains what is being sold. Do not exaggerate size, color, quantity, or results.
9. Skipping File Organization
Poor file organization can slow down your business. Use clear folder names and descriptive file names from the start.
10. Not Adding Alt Text
When you upload images to your website, use helpful alt text. Describe the product clearly and naturally. Do not stuff keywords. For example, “handmade blue ceramic mug with white speckled glaze” is better than “mug cup ceramic mug best mug gift mug.”
Simple Product Photo Shot List
Use this shot list for each product:
- Main product photo on a clean background
- Front view
- Side view
- Back view
- Close-up detail
- Texture or material shot
- Size or scale photo
- Lifestyle photo
- Product in use
- Packaging photo
- Variation photo
- Bundle or set photo
- Care instructions or label photo
- Short product video
- Social media vertical shot
You do not need every shot for every product, but the more expensive or detailed the product is, the more visual information customers may need.
Product Photography Workflow for Small Business Owners
A repeatable process saves time and improves consistency.
Step 1: Prepare the Product
Clean the product. Remove dust, fingerprints, wrinkles, loose threads, stickers, lint, or packaging flaws. For clothing, steam or iron the item. For food, prepare fresh samples. For handmade products, choose the best version to photograph.
Step 2: Prepare the Setup
Set up your table, backdrop, tripod, lighting, and reflectors. Keep the setup as consistent as possible if you photograph multiple products.
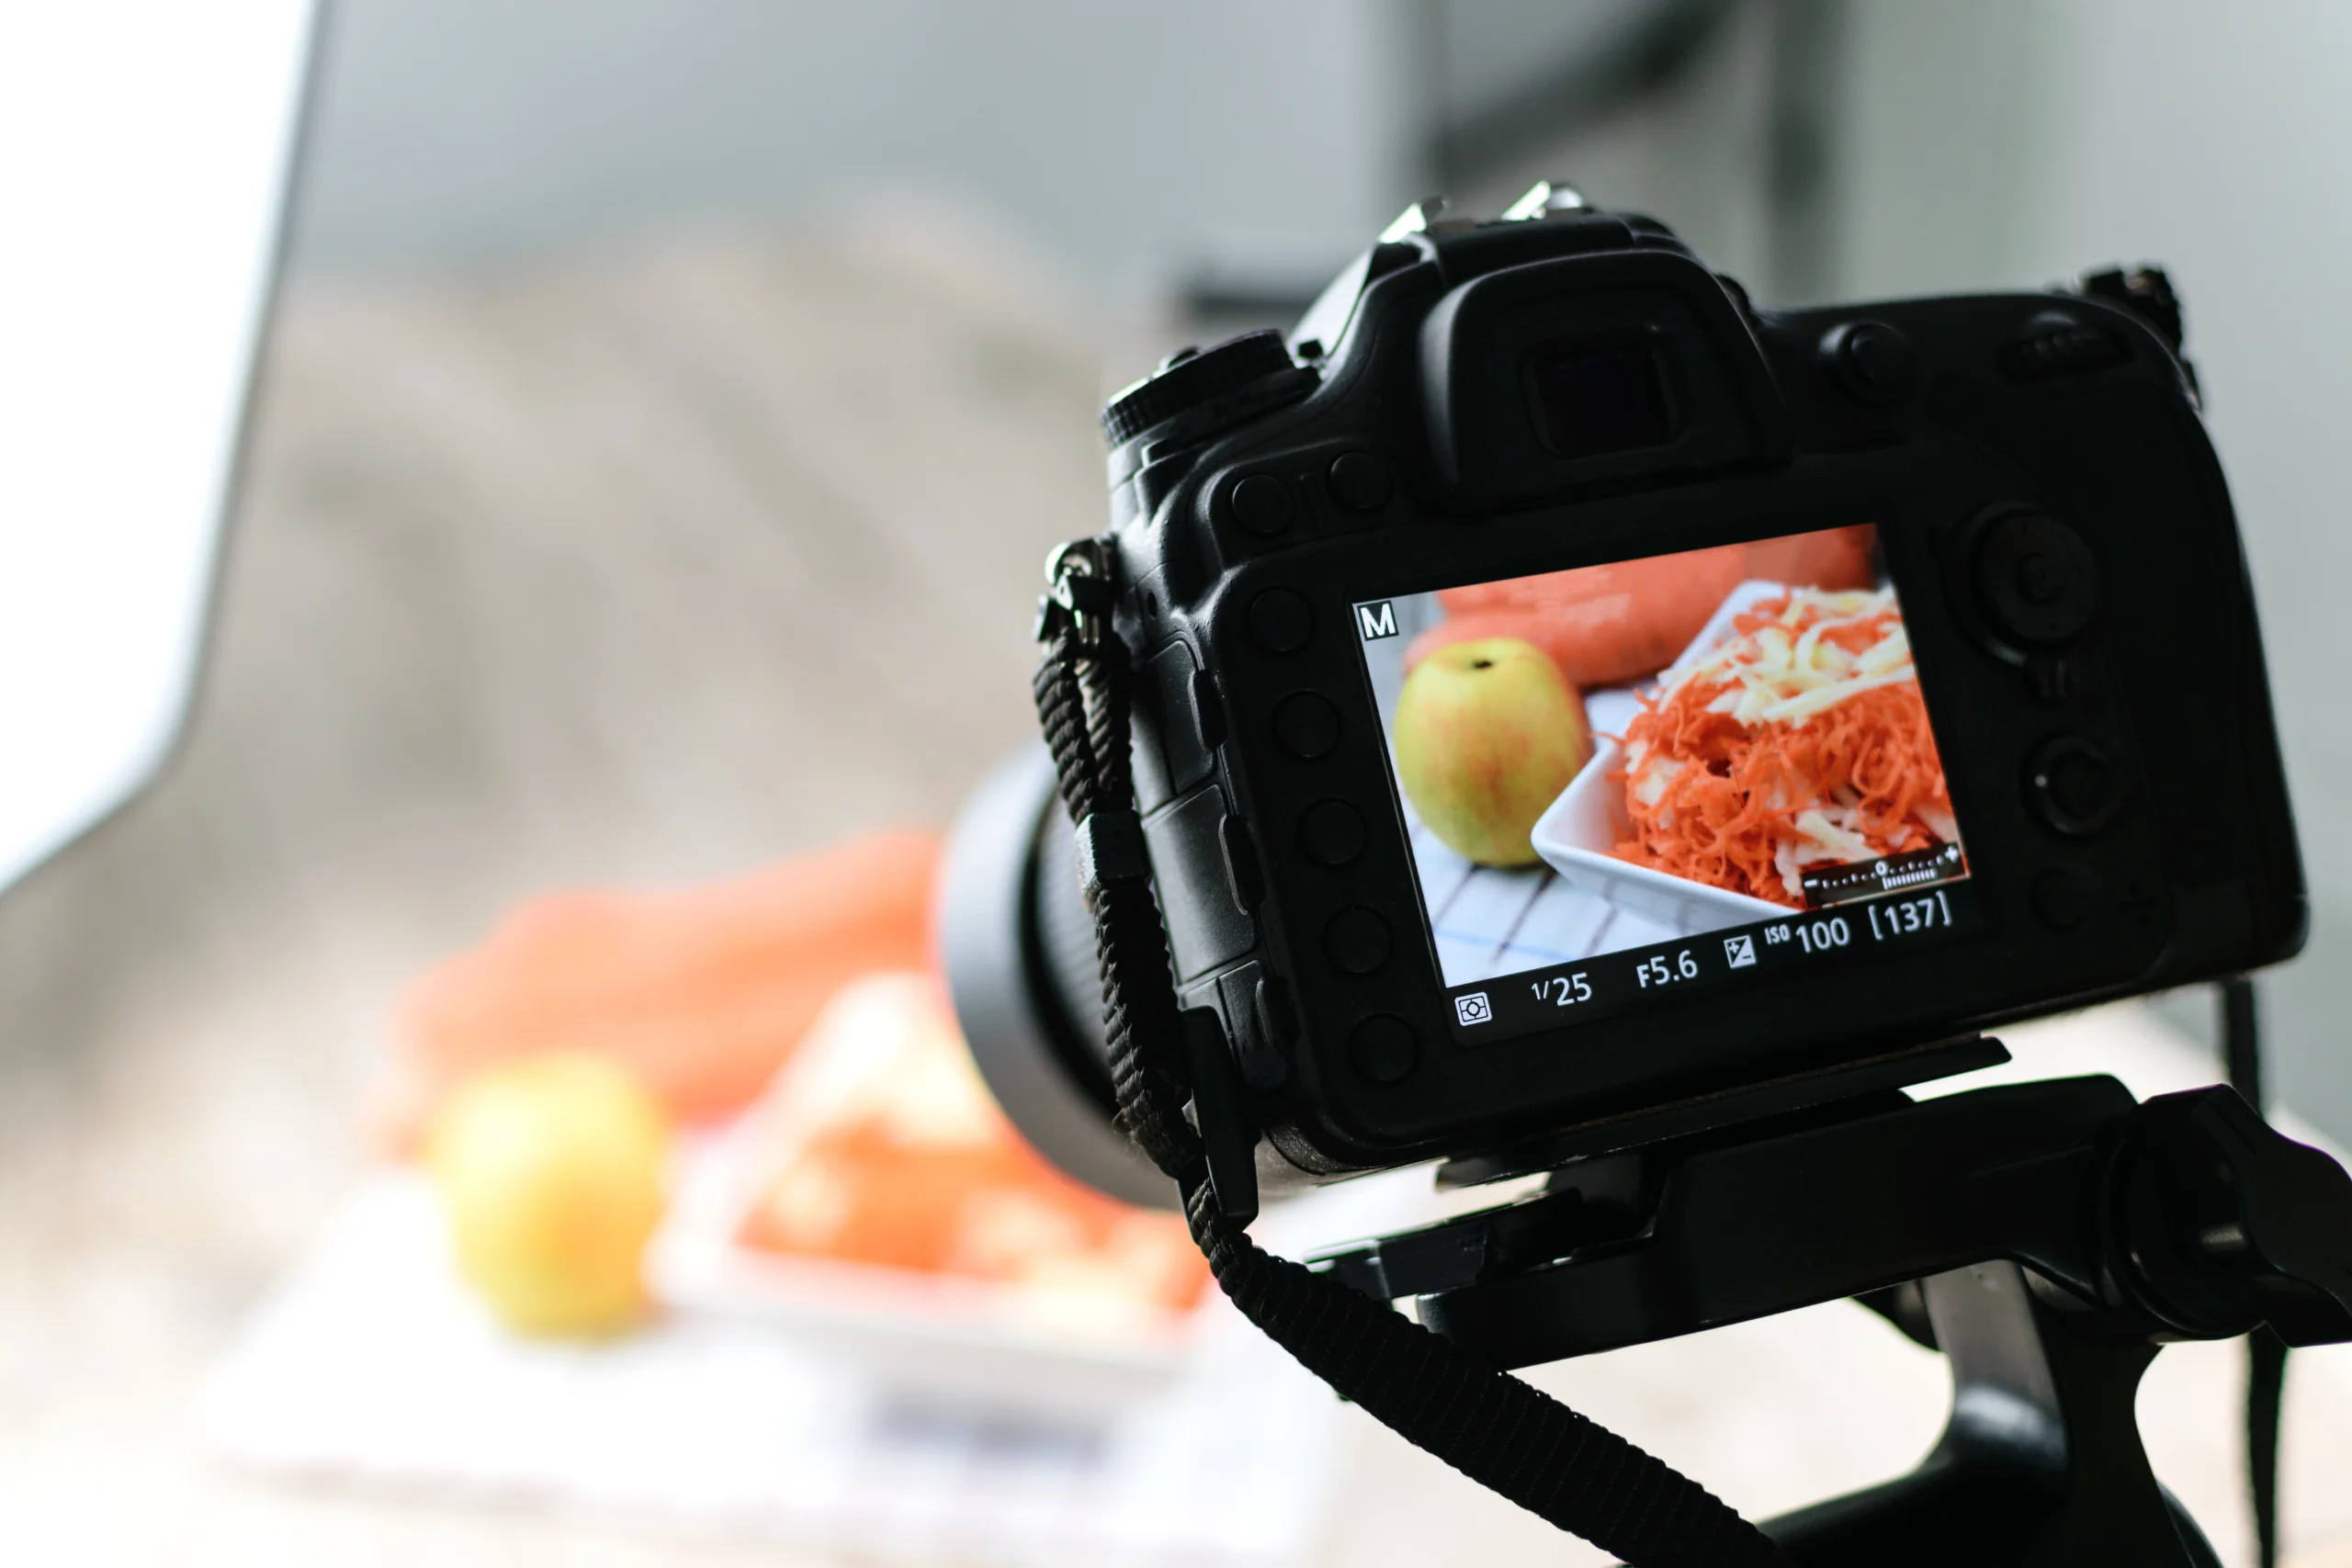
Step 3: Test the Light
Take test shots before photographing the full batch. Check shadows, glare, reflections, color, and focus.
Step 4: Shoot the Main Images First
Start with the required ecommerce images. These are usually the clean, clear photos that show the product accurately.
Step 5: Shoot Detail and Lifestyle Images
After the basic listing photos, take close-ups, scale shots, packaging shots, and lifestyle images.
Step 6: Record Short Videos
If you use video, capture short clips while the product is already set up. Show how the product moves, opens, fits, shines, pours, folds, or works.
Step 7: Edit Lightly
Crop, straighten, brighten, and adjust color if needed. Keep the product accurate.
Step 8: Save and Organize
Save edited photos in the correct size and folder for each platform. Keep original files in case you need to re-edit later.
Step 9: Upload With Good Product Information
Photos work best when paired with strong titles, descriptions, pricing, and customer information. PowerHomeBiz’s article on top ecommerce mistakes that cost small businesses sales can help you improve the rest of your online store.
Final Thoughts
Product photography does not have to be expensive, but it does need to be intentional. A small business owner can create better product images with a simple setup: good lighting, a steady tripod, a clean background, a reflector, and a repeatable workflow.
Start with the equipment that solves the biggest problems. If your photos are blurry, buy a tripod. If they are dark, improve the lighting. If they look messy, simplify the background. If customers keep asking about size, add scale photos. If your social media content feels flat, add lifestyle shots and short videos.
The best product photography setup is not always the most expensive one. It is the one you can use consistently to show your products clearly, honestly, and attractively.
FAQ on Product Photography Equipment for Small Businesses
What equipment do I need for product photography?
At minimum, you need a smartphone or camera, tripod, clean backdrop, good lighting, reflector or foam board, and a stable shooting surface. Small products may also benefit from a light box, while clothing and larger products may need softbox lights and a larger backdrop.
Can I use my phone for product photography?
Yes. Many small business owners can start with a smartphone, especially if they use good lighting, a tripod, and a clean background. Lighting and stability often matter more than the camera itself when you are just beginning.
Is a light box worth it for product photography?
A light box is worth it if you photograph small products such as jewelry, candles, soaps, crafts, accessories, packaged goods, or beauty products. It creates a controlled lighting environment and helps produce clean, consistent images.
Do I need a ring light or softbox lights?
A ring light can work for quick product photos, small items, and product videos where you also appear on camera. Softbox lights are usually better for larger products, apparel, food, and more professional-looking product photography because they create broad, soft light.
What background is best for product photos?
A white or neutral background is best for main product images because it keeps the focus on the item. Lifestyle images can use branded, seasonal, or contextual backgrounds as long as they do not distract from the product or mislead customers.
How many product photos should I take?
Take enough photos to answer the customer’s main questions. A good starting point is a main image, front view, side or back view, close-up detail, scale photo, lifestyle image, and packaging photo. More complex or higher-priced products may need more images.
Do I need a microphone for product photography?
You do not need a microphone for still photos. However, if you create product videos, tutorials, voiceovers, demonstrations, or founder videos, a basic microphone can make your audio clearer and more professional.
What product photography equipment should I buy first?
Buy a tripod, phone mount, clean backdrop, reflector, and basic lighting first. These tools solve the most common beginner problems: blur, shadows, poor framing, and messy backgrounds.
What should I avoid in product photography?
Avoid blurry photos, harsh lighting, cluttered backgrounds, misleading props, inaccurate colors, overediting, and photos that do not match the platform’s image requirements.
How can I make product photos look more professional on a budget?
Use soft light, keep the background clean, place the camera on a tripod, use a reflector to reduce shadows, clean the product before shooting, and edit lightly for brightness and accuracy. Consistency across your photos can make even a budget setup look more professional.
Related Links:
- Home Business Ideas
- How to Start a Profitable Craft Business
- How Do You Know if Your Product Will Sell Online?
- Home Office Setup Checklist for New Entrepreneurs
- How to Start a Clothing Line Business
- How to Start a Successful Small Clothing Business from Home
- How to Manufacture, Produce, and Sell Your Clothing Line
- How to Promote a New Clothing Line
- How to Start a Food Business: State-by-State Guide
- An Easy Guide to Starting a Home-Based Food Business
- How to Start a Frozen Food Business
- 6 Tips on Successfully Showcasing Your Products
- Top 10 Ecommerce Mistakes That Cost Small Businesses Sales
Suggested External Links Used
- U.S. Small Business Administration: 5 Ways to Start Selling Online
- Google Merchant Center image link requirements
- Amazon Seller Central product image guide
- Etsy Seller Handbook: How to Shoot Your Products
- Etsy image requirements and best practices
- Etsy Product Photography Checklist
- Shopify: Taking Product Photographs
- Shopify: Product Photography Setup
- Google Search Central: Image SEO Best Practices
- FTC: Advertising and Marketing Guidance
- FTC Endorsement Guides: What People Are Asking